How to Make an Invoice in Excel in 7 Easy Steps
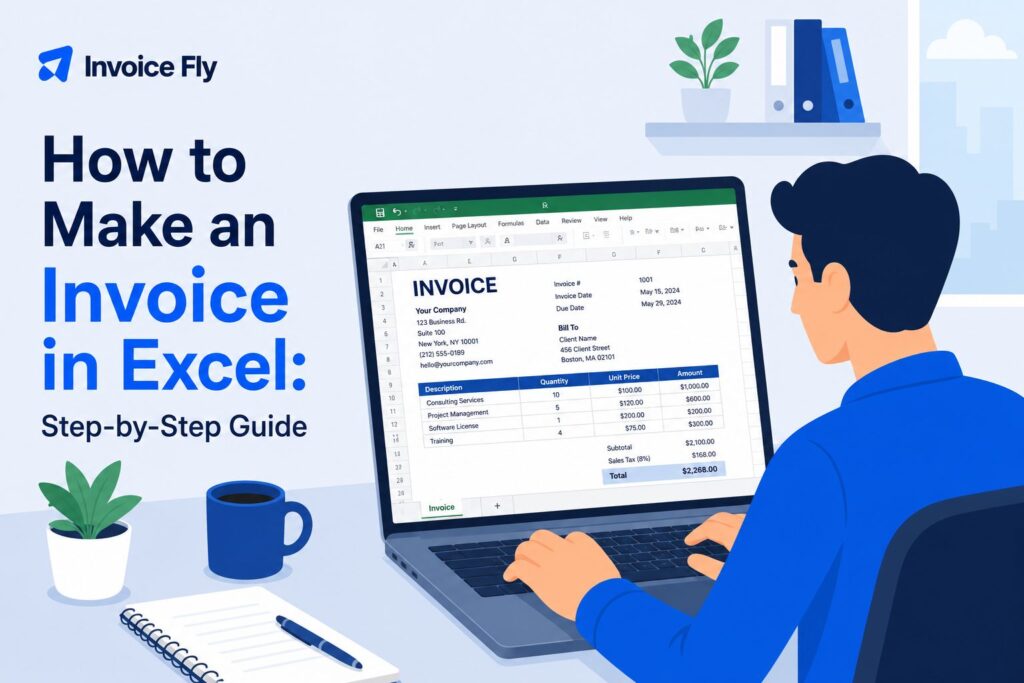
Table of Contents
To make an invoice in Excel, start with a blank spreadsheet or invoice template, then add your business details, customer information, invoice number, dates, line items, payment terms, and total amount due. Excel formulas can calculate subtotals, taxes, and totals automatically, making it a practical option for freelancers and small businesses that only send a few invoices.
This guide covers:
- How to create an invoice in Excel step by step
- Which details every Excel invoice needs
- Formulas for calculating totals and taxes
- How to use an Excel invoice template
- When an invoice generator may be easier than Excel
How to create an invoice in Excel

You can create an invoice from scratch in Excel by setting up a simple spreadsheet with sections for your business, customer, invoice, and payment information. Once you’ve created the basic invoice format, save a clean copy to reuse for future customers.
1. Set up the invoice header and company information
Open a blank Excel workbook and use the top rows for your invoice header. Add INVOICE prominently, followed by your business information.
Include:
- Business or freelancer name
- Business address
- Phone number and email
- Website, if applicable
- Business or tax identification number, where required
- Logo
Keep the design simple and leave enough white space to make the invoice easy to scan.
If you’re new to invoicing, understanding what an invoice is and its purpose can help you decide which information your business needs to include.
2. Create invoice metadata fields
Next, add the information used to identify and track the invoice.
Create fields for:
- Invoice number
- Invoice date
- Payment due date
- Purchase order number, if applicable
Every invoice should have a unique invoice number so you can identify payments and track outstanding invoices. Use a consistent numbering system, such as INV-001, INV-002, and INV-003.
Your invoice due date should also be clearly visible so the customer knows exactly when payment is expected.
3. Add customer and billing details
Create a separate billing section for the customer receiving the invoice.
Include:
- Customer or company name
- Billing address
- Email address
- Contact name
- Tax or business number, if needed
Check these details carefully before sending the invoice. Incorrect customer information can create delays, especially when invoicing larger businesses with specific billing requirements.
4. Create an itemized product table with headers
Below the billing details, create a table showing exactly what the customer is being charged for.
Useful column headers include:
| Description | Quantity | Rate | Amount |
|---|---|---|---|
| Website copywriting | 5 | $100 | $500 |
| SEO consultation | 2 | $125 | $250 |
Each line item should clearly describe the product or service provided. An itemized invoice makes it easier for customers to understand the charges and reduces questions about the final balance.
5. Add formulas for calculations and totals
Excel’s formulas are one of its biggest advantages over creating an invoice in a standard document.
For example, if quantity is in cell B10 and the rate is in C10, calculate the line-item amount with:
=B10*C10
Copy the formula down the Amount column for additional items.
To calculate the subtotal, use the SUM function:
=SUM(D10:D15)
Microsoft confirms that Excel formulas begin with = and that functions such as SUM can calculate values across a selected range.
You can then create separate cells for:
- Subtotal
- Discount
- Sales tax
- Additional fees
- Total amount due
For example, if your subtotal is in D16 and your tax rate is stored in C17, your tax calculation could be:
=D16*C17
Then add the subtotal and tax together to calculate the final balance.
Using formulas reduces repetitive calculations, but always review the figures before sending an invoice to a customer.

6. Add payment terms and instructions
Below the total, explain how and when the customer should pay.
Include:
- Accepted payment methods
- Bank or payment details
- Payment deadline
- Late-payment policy, if applicable
- Any relevant invoice terms and conditions
Clear invoice payment terms help customers understand their responsibilities and can reduce payment delays. For example, you might use “Due within 30 days” or specify an exact date.
7. Review, save, and send the invoice
Check the customer details, invoice number, calculations, payment information, and total before sending.
Save the original Excel file for your records, then export a customer-facing copy as a PDF. Microsoft also recommends PDF export as an option when preparing Excel invoices for customers.
Keeping an organized copy is important for your financial records. The IRS lists invoices among the supporting documents businesses should retain to substantiate transactions recorded in their books and tax returns.
For more guidance on formatting and sending professional invoices, see our complete guide on how to write an invoice.
What an Excel invoice should include

A professional Excel invoice should give the customer everything they need to understand the charges and make payment.
Include:
- Your business name and contact details
- Customer name and billing information
- Unique invoice number
- Invoice and due dates
- Itemized products or services
- Quantity and rate for each item
- Subtotal, taxes, discounts, and fees
- Total amount due
- Payment methods and instructions
- Payment terms
Depending on your business and location, you may also need to include tax identification numbers or other legal information.
Before sending an invoice, check that every line item is clear and that the totals match the work completed. Our guide to professional invoice elements covers each part of an invoice in more detail.
Using Excel invoice templates
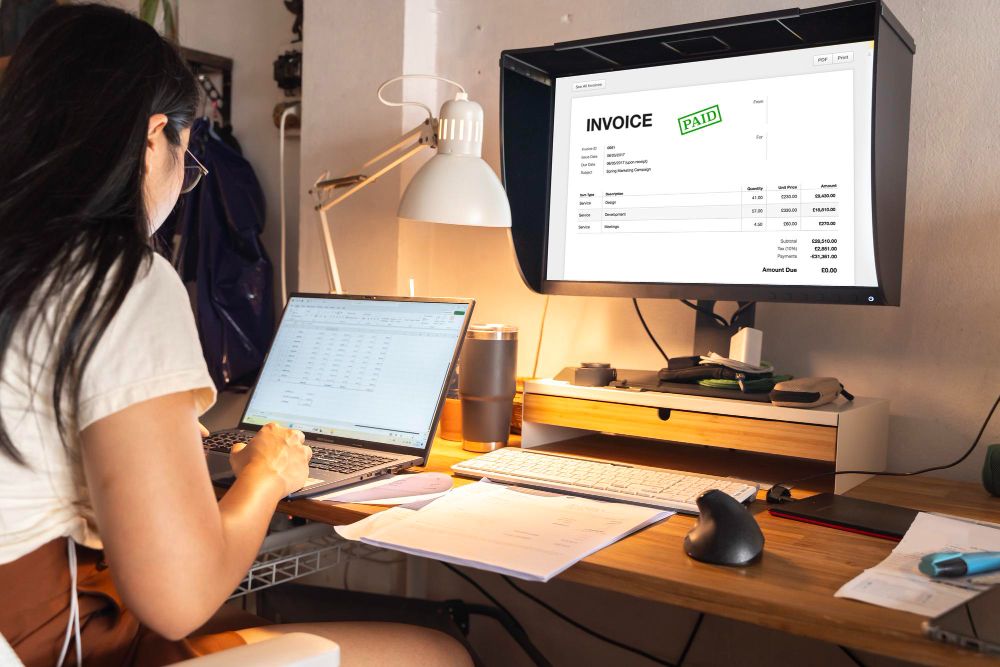
You don’t need to build every invoice from scratch. An Excel invoice template gives you a ready-made structure with fields for customer details, invoice numbers, line items, taxes, and totals.
Templates are particularly useful if you invoice regularly because you can customize one with your logo, business details, payment terms, and formulas, then save a blank master copy.
When using a template:
- Customize it with your branding
- Check that formulas calculate correctly
- Remove fields you don’t need
- Add any required tax information
- Save a clean version before entering customer details
- Export completed invoices as PDFs
A free Excel invoice template can save setup time while still giving you control over the spreadsheet and calculations.
Excel works well for occasional invoicing, but manually copying files, updating invoice numbers, and tracking payments becomes harder as invoice volume increases. If you find yourself repeating the same steps, invoice automation can reduce manual work and help you keep records organized.
Use Invoice Fly to create free invoices instead
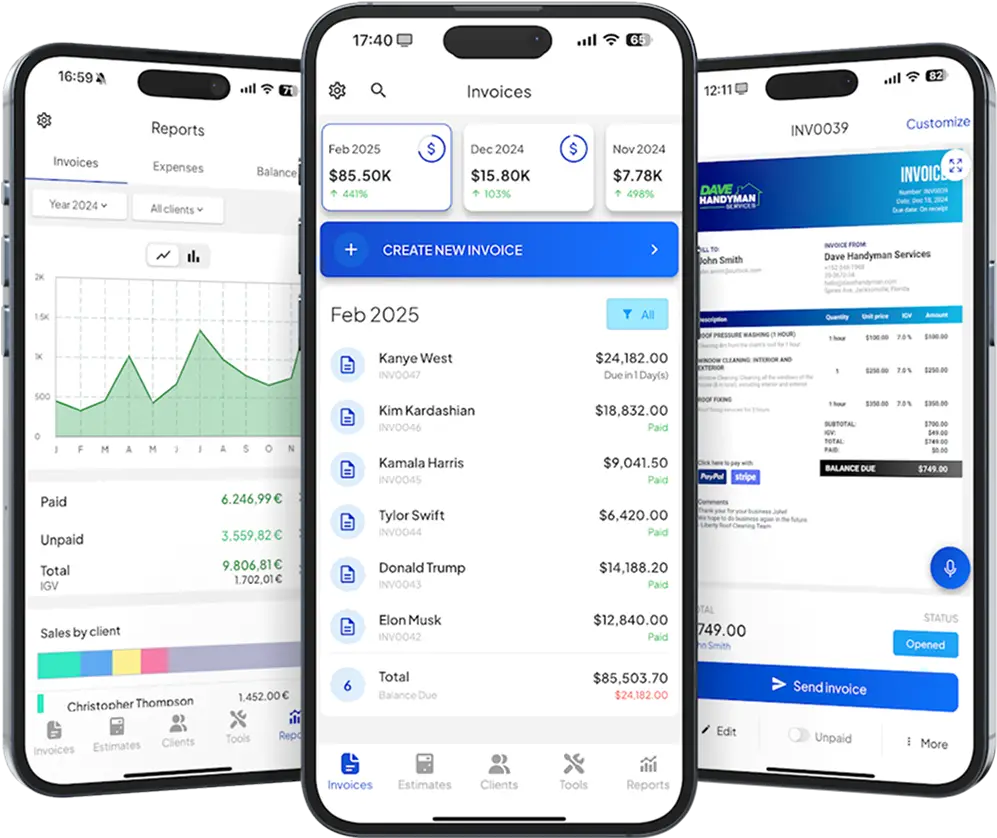
Excel gives you flexibility, but it still requires manual setup, formulas, file management, and payment tracking. If you send invoices regularly, a dedicated invoicing tool can make the process faster.
Invoice Fly’s free invoice generator lets you create a professional invoice without building a spreadsheet or setting up formulas. For businesses managing multiple customers and payments, an invoice maker can also help you create invoices, track their status, and keep billing information organized in one place.
If you’re deciding which approach suits your business, our guide to what an invoice is explains how invoices work and what information they should contain.