How to Make an Invoice: A Step-by-Step Guide

Table of Contents
- How to Make an Invoice in 10 Steps
- Step 1: Choose How You Want to Make Your Invoice
- Step 2: Gather the Information You Need To Make Your Invoice
- Step 3: Start With a Template When Making an Invoice
- Step 4: Enter Your Business and Customer Details
- Step 5: Add an Invoice Number, Issue Date, and Due Date
- Step 6: Add the Products or Services You Are Billing For
- Step 7: Calculate the Total
- Step 8: Add Payment Information
- Step 9: Review the Invoice After You Make It
- Step 10: Finalize the Invoice
- How to Make Invoices More Efficiently
- What Is the Easiest Way to Make an Invoice?
- How to Make an Invoice With Invoice Fly
- FAQs on How To Make an Invoice
Knowing how to make an invoice is an essential part of running a business, whether you are billing your first customer or sending invoices every day.
The process does not have to be complicated. You need a reliable way to create the document, the correct business and customer information, a clear record of what you are charging for, accurate totals, and instructions that tell the customer how and when to pay.
You can make an invoice using invoicing software, an online invoice generator, a reusable template, a spreadsheet, or a word processor. The best method depends on how often you invoice and how much of the process you want to manage manually.
This guide walks through the practical process of making an invoice from start to finish.
How to Make an Invoice in 10 Steps
To make an invoice:
- Choose how to make an invoice.
- Gather your business and customer information.
- Start with an invoice template or blank invoice.
- Add your business and customer details.
- Assign an invoice number and dates.
- Add the products or services being billed.
- Calculate the subtotal, taxes, discounts, and total.
- Add payment information.
- Review the invoice for mistakes.
- Finalize the invoice and prepare it for sending.
Next, we’ll go through each step and explain how each step works.
Step 1: Choose How You Want to Make Your Invoice
Before entering any information, decide what you will use to make the invoice. There are several common options available to contractors, freelancers, and small business owners.
Invoicing software
The first option we will mention for making invoices is dedicated invoicing software. This is usually the simplest option for businesses that make invoices regularly.
Instead of building each document manually, you enter the relevant information into predefined fields. The software can then generate a professional invoice and may also help you manage invoice numbers, calculations, customer records, payment status, and recurring work.
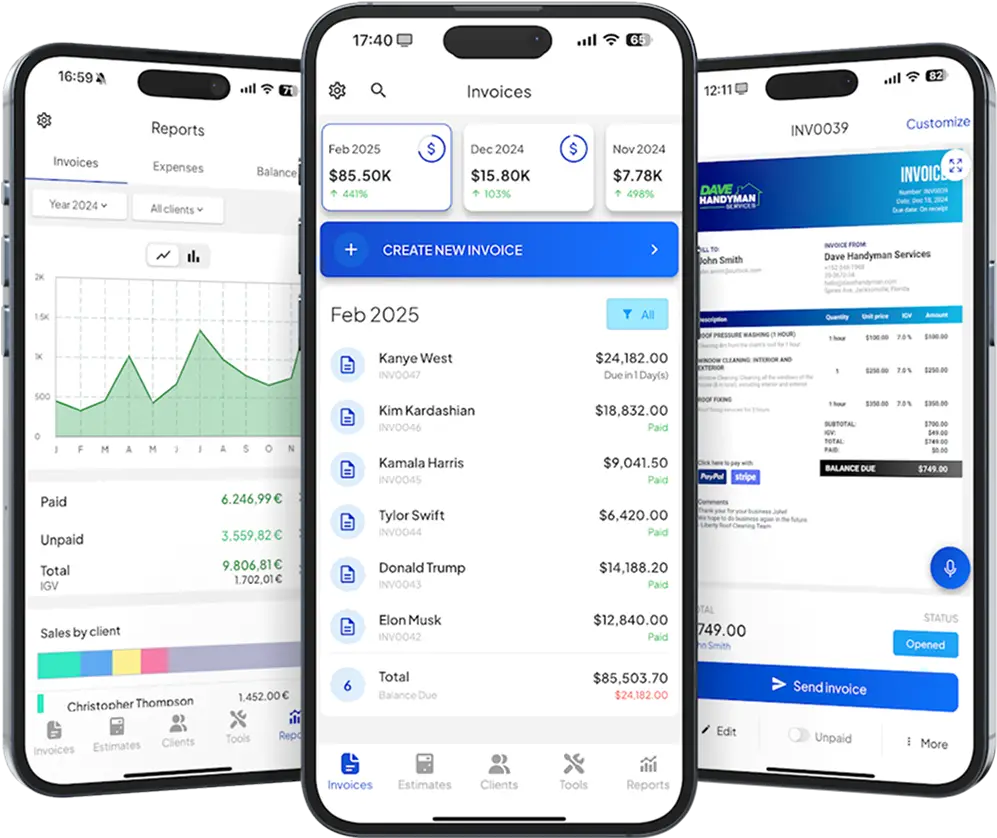
With invoicing software like Invoice Fly, for example, you can make invoices from your phone or computer, customize them for your business, save customer information, and manage invoices in one place.
Online invoice generator
An invoice generator is useful when you want to make an invoice quickly without designing the document yourself. You fill in your information, customer information, line items, prices, and other details before generating the completed invoice. This can be particularly convenient when you only need an invoice occasionally.
Invoice template
A reusable invoice template gives you an existing invoice structure that you can fill in for each customer. Templates are available for common tools such as Word, Excel, Google Docs, and spreadsheets.
These require more manual work than invoicing software, but they can work well for businesses with relatively simple billing needs.
Creating an invoice from scratch
You can also create your own invoice using a spreadsheet or word processor. This gives you complete control over the design, but you also have to manage the formatting, calculations, invoice numbers, saved files, and records yourself.
If you expect to create invoices regularly, using a repeatable system instead of designing each invoice from scratch can save substantial administrative work.
Step 2: Gather the Information You Need To Make Your Invoice
Before making the invoice, collect the information you will need to complete it.
That normally includes:
- Your business name and contact information
- Your customer’s billing information
- The products or services you are billing for
- Prices, quantities, or hours worked
- Any applicable taxes
- Discounts or additional charges
- Your agreed payment terms
- The appropriate payment method
- Any customer reference or purchase order number
Having everything available before you begin makes the invoice faster to make and reduces the chance of leaving out important information.
For a more detailed explanation of the components used in a business invoice, see our guide to professional invoice elements.
Step 3: Start With a Template When Making an Invoice
Next, open your invoicing software, invoice generator, or template (see the methods and links above) and start making a new invoice.
A clear invoice generally separates information into recognizable areas, such as:
- Seller information
- Customer information
- Invoice details
- Products or services
- Pricing and totals
- Payment information
You do not need to come up with a complicated design for your invoice. The priority is making important information easy for the customer to find.
Your document should also be clearly identified as an invoice so that it cannot easily be confused with a quote, estimate, receipt, or other business document. If you are unsure how an invoice differs from other documents, read our guide on what an invoice is.
Step 4: Enter Your Business and Customer Details
The next step for how to make an invoice is to add the information identifying who is issuing the invoice and who is being billed.
Your business section might include:
- Business or trading name
- Your name, when relevant
- Business address
- Email address
- Phone number
- Registration or tax details when applicable
Then enter the customer’s billing information.
Depending on the customer, that may include:
- Customer or company name
- Billing address
- Contact person
- Email address
- Customer account or reference number
Use the customer’s correct legal or billing name where required.
For business customers, make sure you are invoicing the correct company or legal entity rather than simply entering the name of the individual who commissioned the work.
Step 5: Add an Invoice Number, Issue Date, and Due Date
Every invoice needs to be distinguishable from your other invoices. This is another thing to keep in mind when learning how to make an invoice. Assign it a unique invoice number according to the numbering system your business uses.
For example:
INV-1001
Your next invoice might then be:
INV-1002
Consistency in the numbering is more important than making the system complicated.
Invoice numbers are useful for customer queries, bookkeeping, payment tracking, and locating a particular transaction later. You can read more about choosing and managing an invoice number to understand this part of how to make an invoice better.
You should also add the invoice issue date.
Then enter the date by which you expect payment, which is the payment due date.
For example:
- Invoice date: September 16, 2026
- Payment due: October 16, 2026
The appropriate due date depends on the payment arrangement agreed with your customer. Our guide to the invoice due date explains how due dates work in more detail.
Step 6: Add the Products or Services You Are Billing For
Now create the itemized section of the invoice. Use one line for each separate product, service, task, or charge when appropriate.
A typical line item includes:
| Description | Quantity | Rate | Amount |
| Kitchen faucet installation | 1 | $250 | $250 |
| Replacement supply line | 2 | $20 | $40 |
If you charge by time, your quantity may instead represent hours.
For example:
| Description | Quantity | Rate | Amount |
| Electrical troubleshooting | 3 | $90 | $270 |
This creates a transparent breakdown of the amount being charged instead of presenting the customer with an unexplained total.
Our guide to invoice line items explains how line items work and what information they can contain.
For help choosing the actual wording of your service descriptions, see how to write an invoice.
Step 7: Calculate the Total
Once the line items are entered, calculate how much the customer owes.
Start with the subtotal of all products and services.
Then apply any relevant adjustments, such as:
- Sales tax
- VAT or other applicable taxes
- Discounts
- Shipping
- Materials
- Additional agreed fees
For example:
- Services: $750
- Materials: $100
- Subtotal: $850
- Tax: $68
- Total due: $918
The final amount due should be clearly visible.
If you are creating an invoice manually, double-check every calculation before sending it.
One advantage of using invoicing software is that totals, tax, quantities, and discounts can be calculated automatically rather than having to maintain formulas yourself.
Step 8: Add Payment Information
Your completed invoice needs to give the customer a way to pay you.
Depending on your business, you might accept:
- Credit or debit card
- Bank transfer
- Cash
- Check
- Online payment
- Another agreed payment method
Include the information the customer needs to complete the payment.
You should also apply the payment arrangement you previously agreed on, such as payment due upon receipt or within a defined number of days.
Rather than turning this invoice-creation guide into a full discussion of payment policies, you can find detailed guidance in our article on invoice payment terms.
For more complex conditions surrounding the transaction that go beyond a simple article on how to make an invoice see invoice terms and conditions.
Step 9: Review the Invoice After You Make It
Do not send an invoice immediately after making it. Always review it first.
Here are the things you should check:
- Is the customer name correct?
- Is it being sent to the correct business?
- Is the invoice number unique?
- Are the invoice and due dates correct?
- Are all products or services included?
- Are quantities and rates accurate?
- Is tax calculated correctly?
- Have discounts been applied correctly?
- Does the final total match your records?
- Are the payment instructions correct?
- Is any required customer reference or PO number included?
A small error can result in a rejected invoice, unnecessary questions, or a payment delay. Our guide to common invoicing mistakes covers problems to watch for in more detail.
Step 10: Finalize the Invoice
Finally, to make your invoice, once everything has been checked, you can finalize the document.
If you are making the invoice manually, saving or exporting it as a PDF is usually preferable to sending an editable Word or spreadsheet file. A PDF helps preserve the layout and prevents accidental changes to formulas or invoice information.
Give the file a clear name so that both you and the customer can identify it later.
For example:
Invoice-1048-Smith-Plumbing.pdf
If you use invoicing software, your invoice may instead be shared through a secure portal or payment link.
The invoice you have made is now ready to be delivered to the customer.
The actual delivery process (including email subject lines, email copy, PDFs, payment links, and other sending methods) is covered separately in our guide on how to send an invoice.
How to Make Invoices More Efficiently
Once you know how to make an invoice, the next goal is to make the process more efficient, so you do not need to start from scratch every time.
A few improvements can make invoicing considerably easier:
- Save customer details for reuse.
- Use a consistent numbering system.
- Reuse common products and services.
- Set standard payment terms.
- Automate calculations.
- Keep docs in one searchable system.
- Use recurring billing where appropriate.
- Track which invoices have been paid and which remain outstanding.
For businesses that invoice repeatedly, reducing manual work can be just as important as creating the invoice itself.
What Is the Easiest Way to Make an Invoice?
For occasional invoicing, a template or invoice generator can be enough.
If you regularly invoice customers, dedicated invoicing software is generally more efficient because you can reuse customer details, maintain consistent numbering, calculate totals automatically, and keep records together. The IRS also recommends keeping certain types of records safe, like invoices, for example.
The important difference is repeatability. Making one invoice manually may only take you a few minutes. Repeating the same manual steps across dozens or hundreds of invoices creates more administrative work and more opportunities for errors.
A reusable invoicing process allows you to spend less time reconstructing documents and more time running your business.
How to Make an Invoice With Invoice Fly
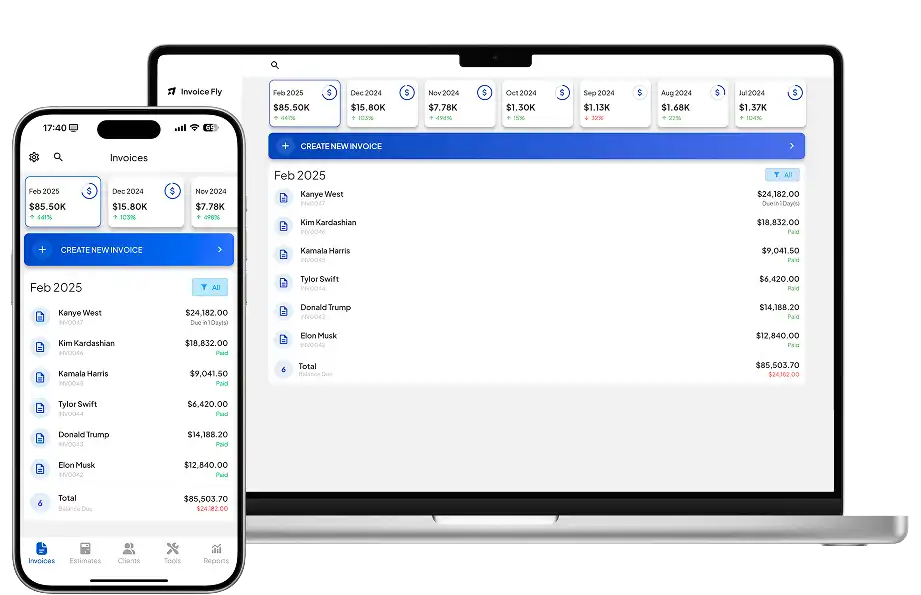
Invoice Fly is designed to help freelancers, contractors, and small businesses make professional invoices without having to build documents manually.
To make an invoice:
- Open Invoice Fly and make a new invoice.
- Select an existing customer or add a new one.
- Enter the products, services, materials, or hours you are billing for.
- Add the relevant dates and payment information.
- Review the total.
- Customize the document where needed.
- Save the completed invoice.
- Send or share it with your customer.
Now that you have learned how to make an invoice, you are ready to go out and focus on improving your business!