- Home
- »
- Free Resources for Small Businesses
- »
- Free Templates
- »
- Free Estimate Templates
- »
- Roofing Estimate Template
Free Roofing Estimate Template
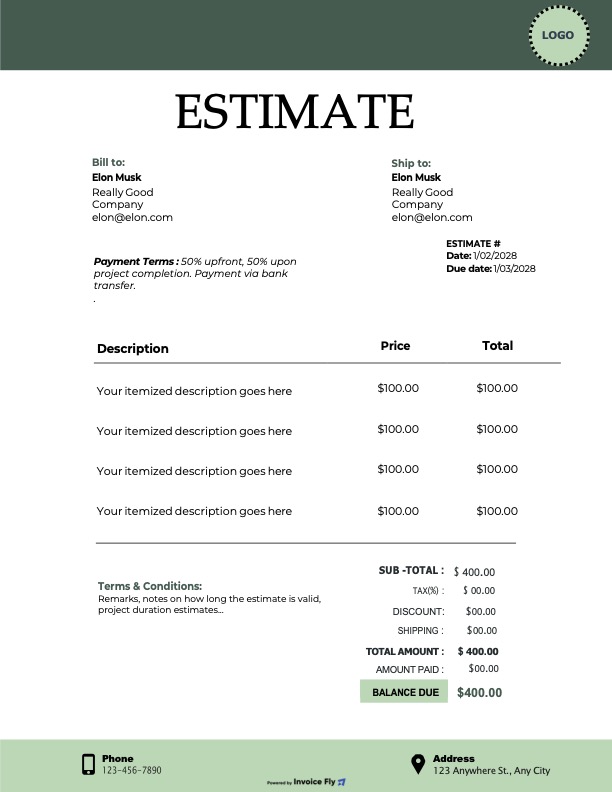
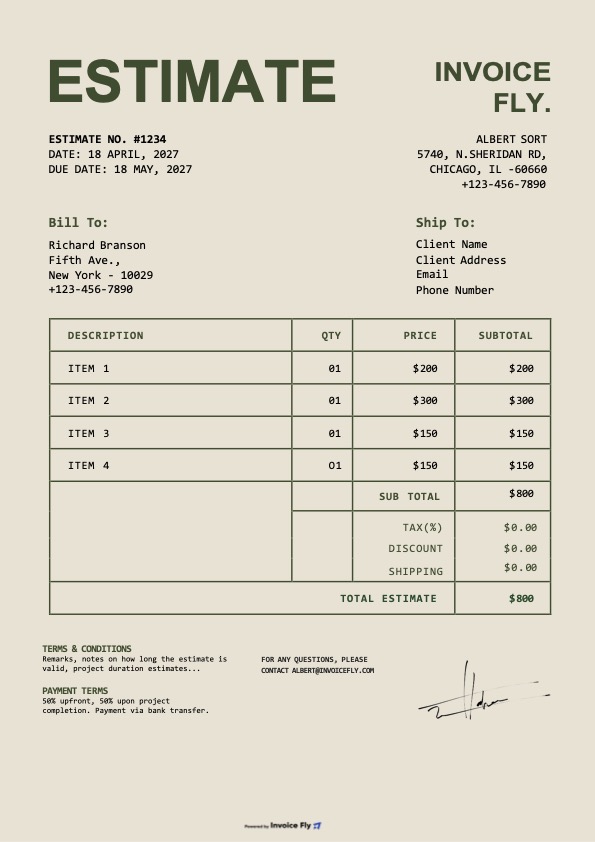
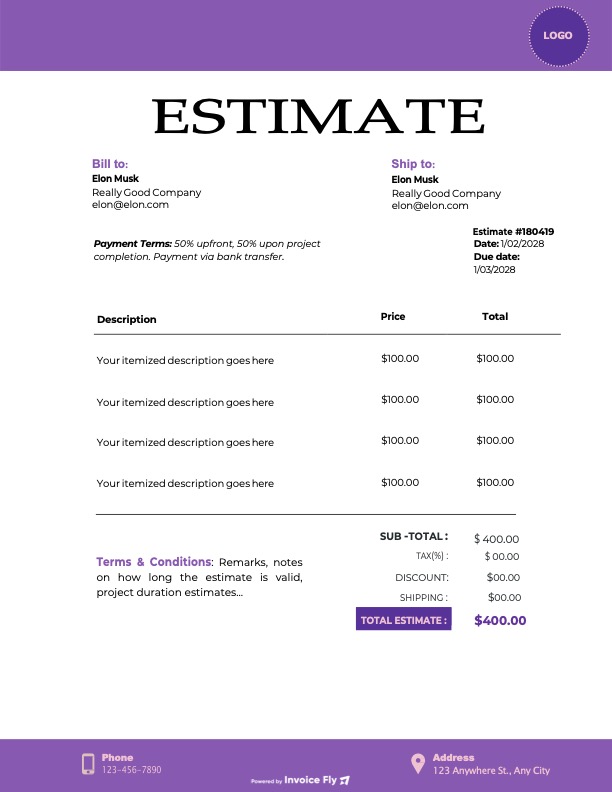
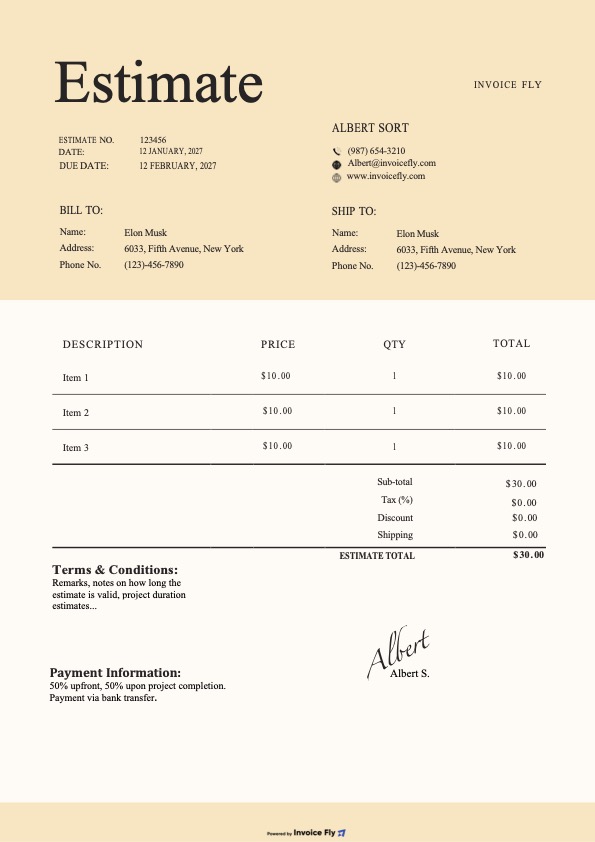
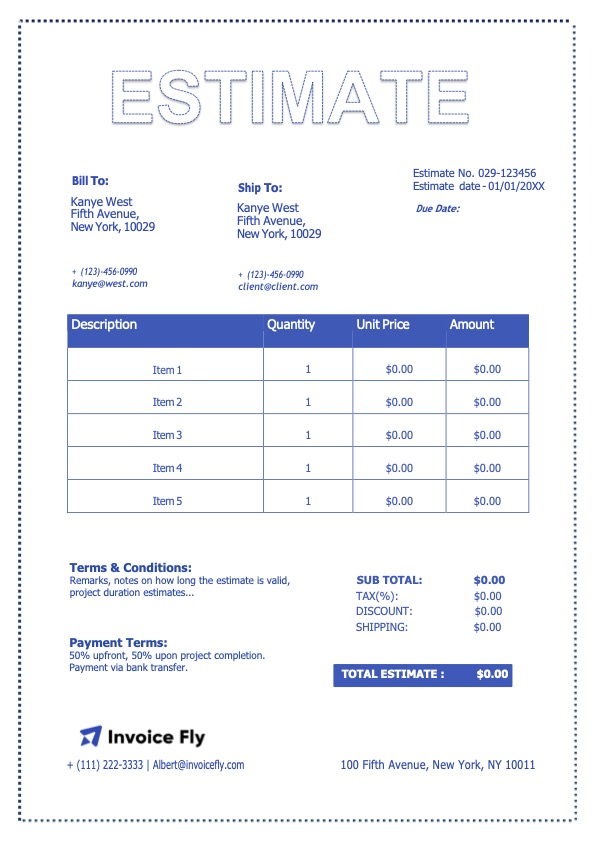
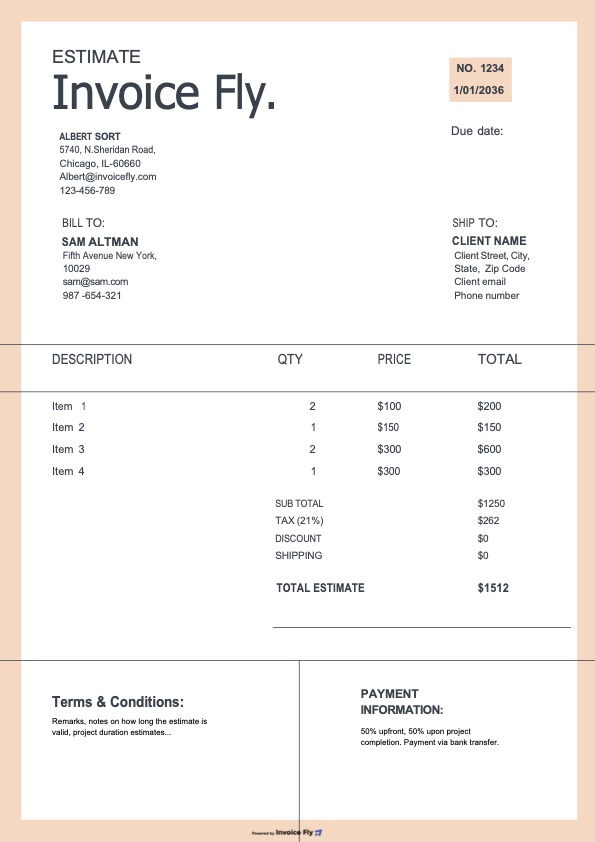
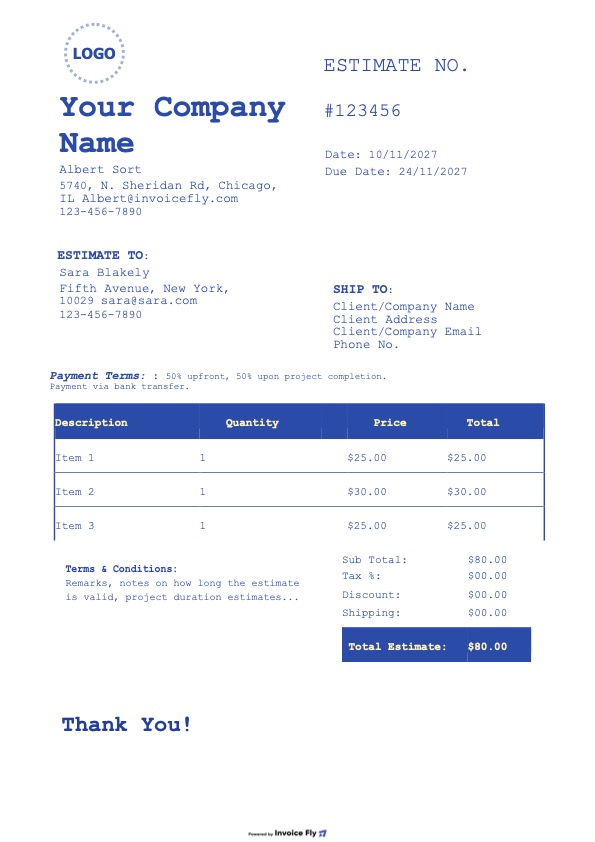
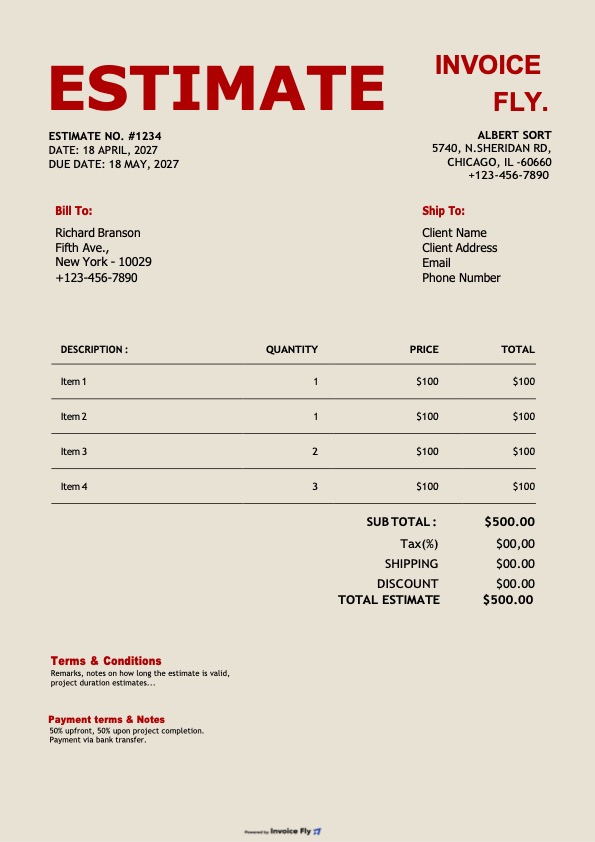
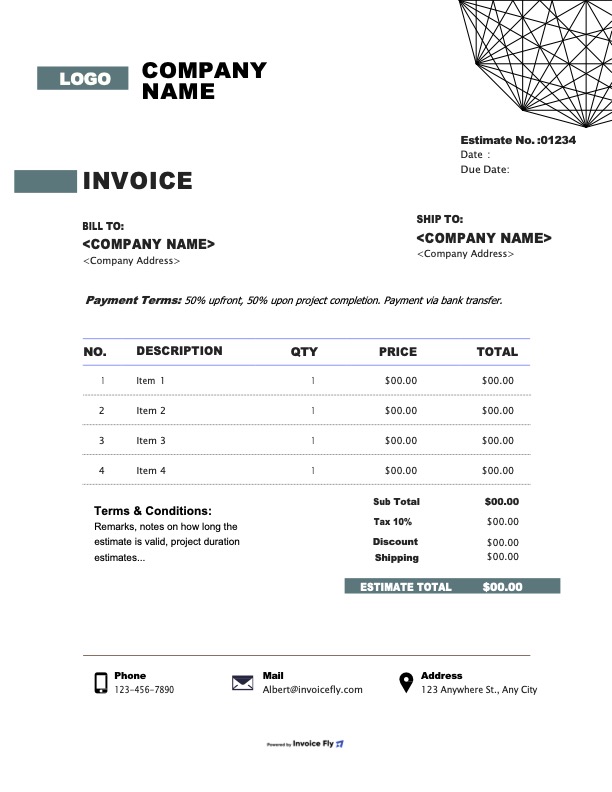
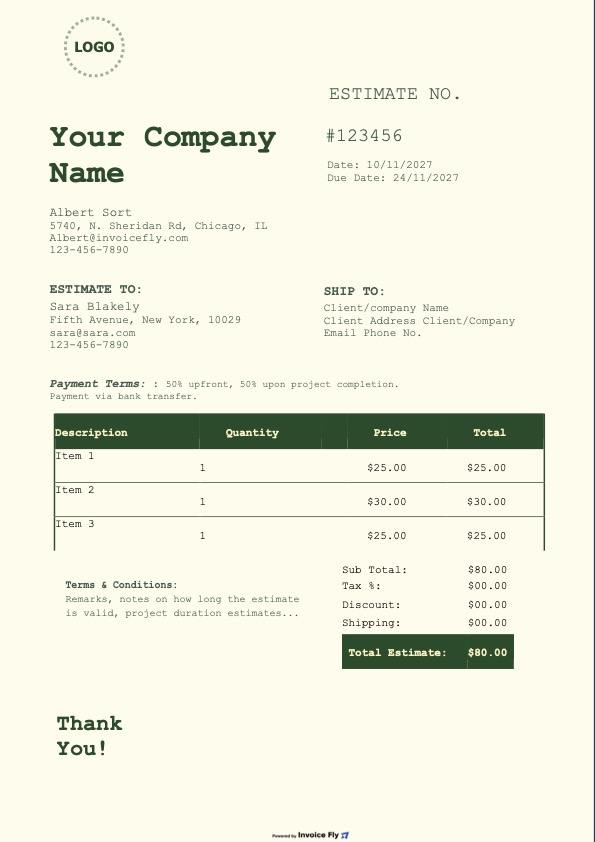
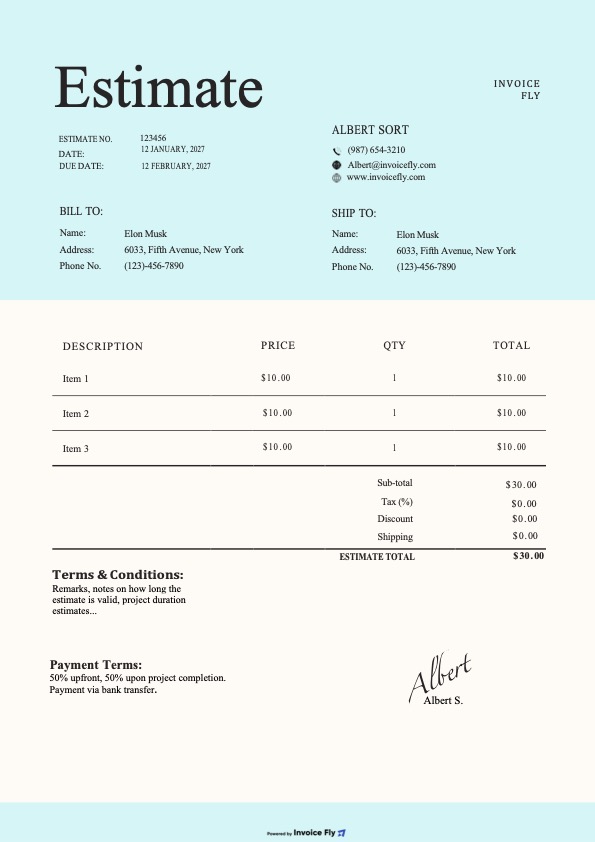
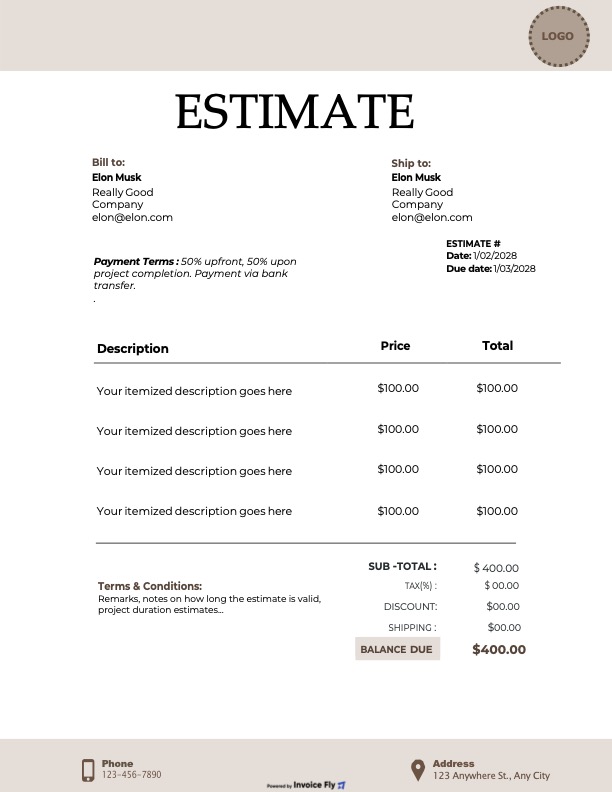
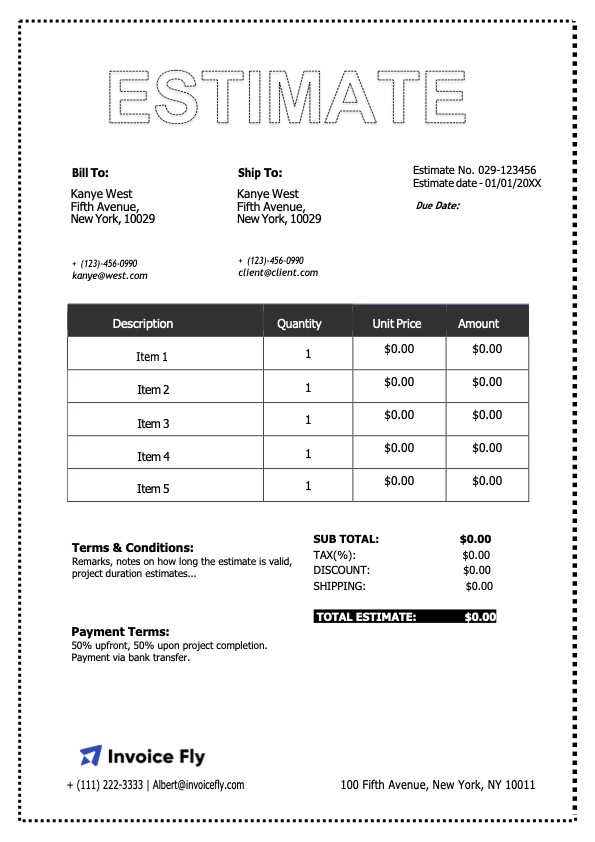
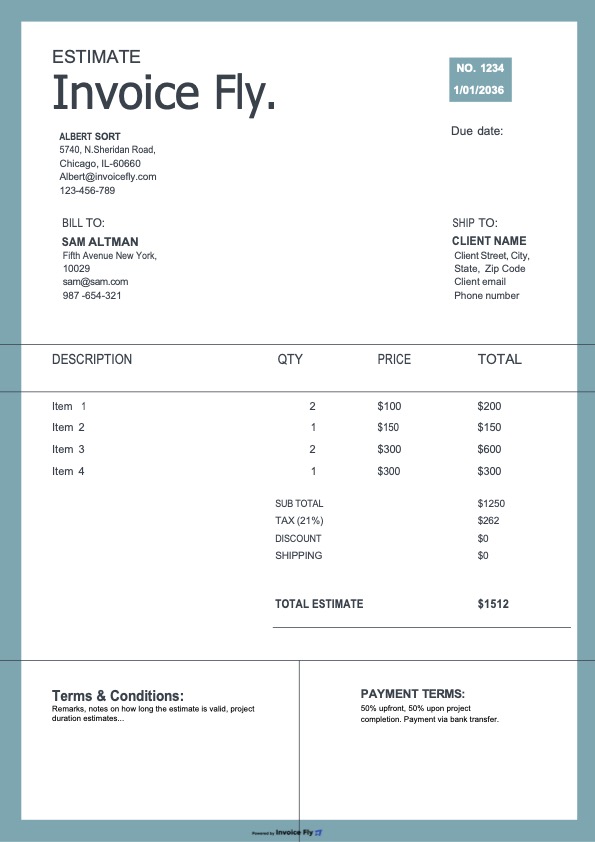
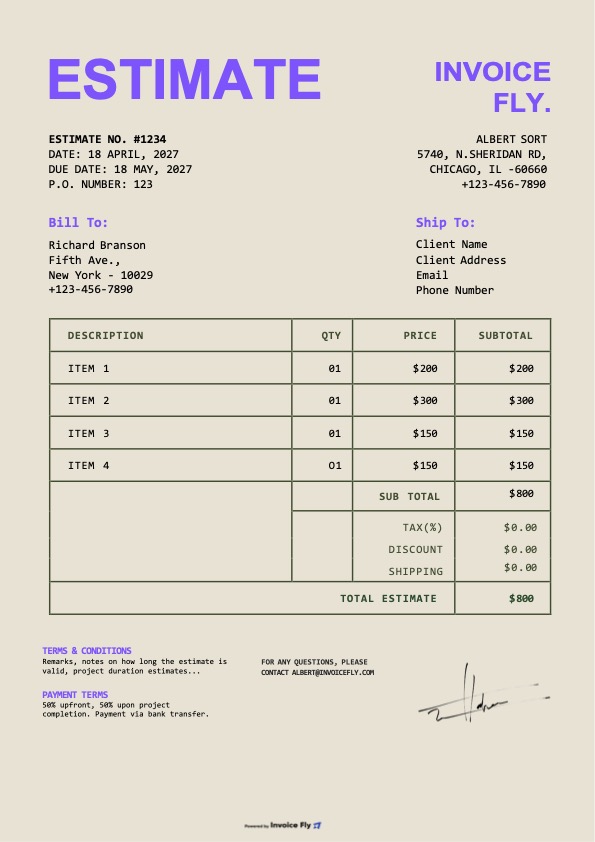
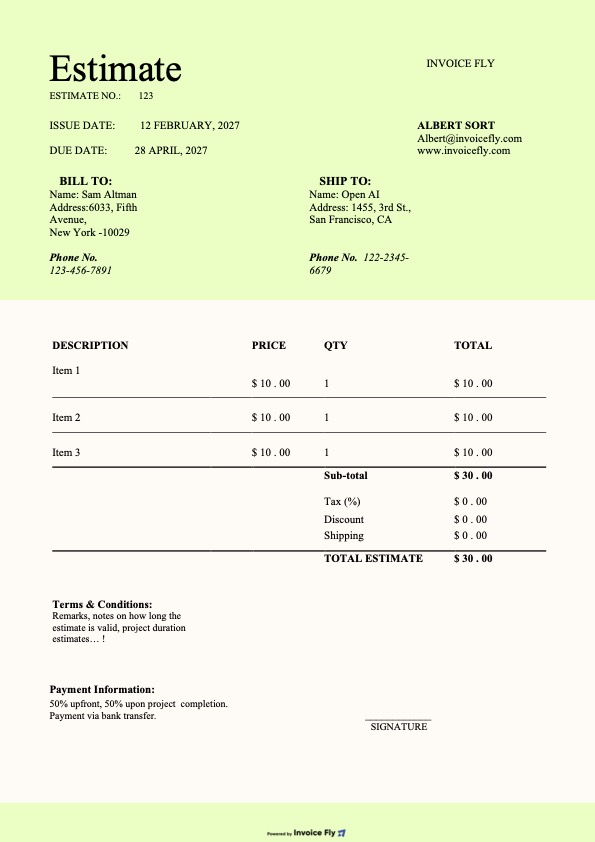
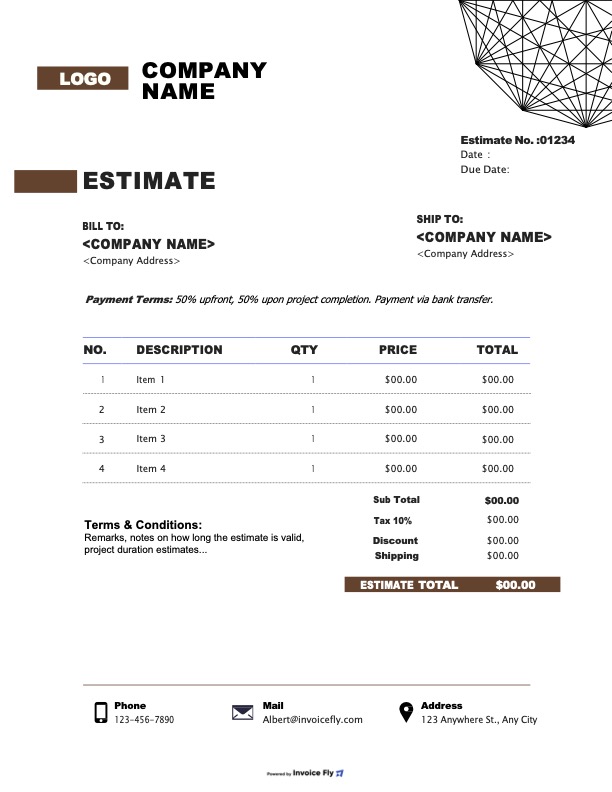
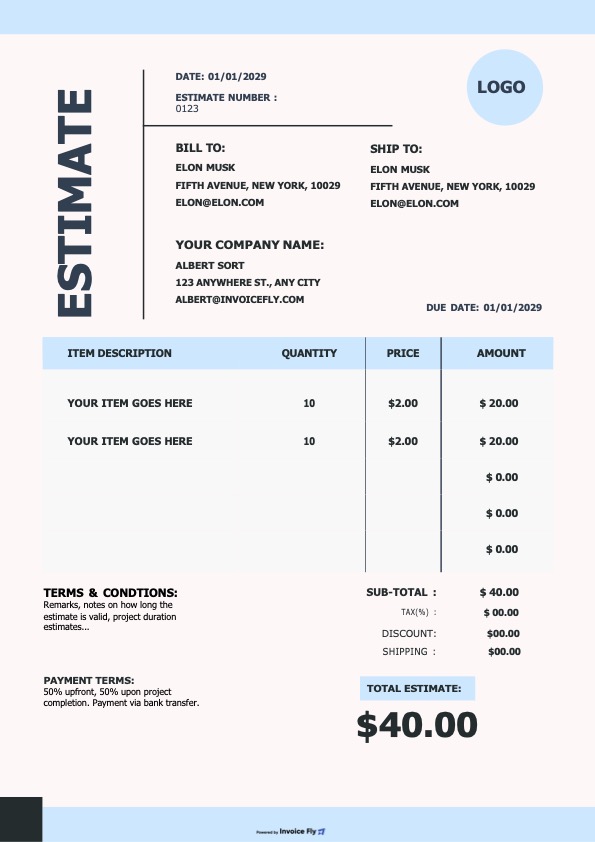
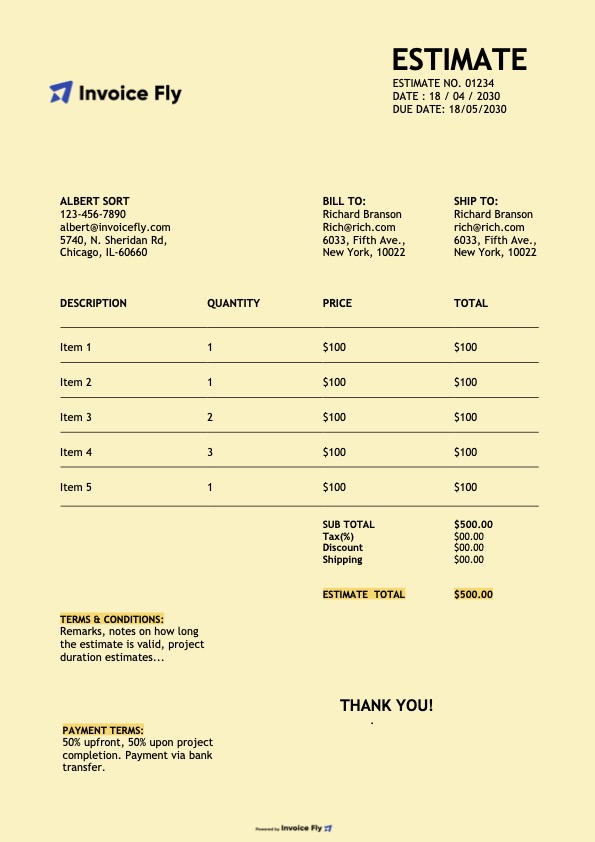
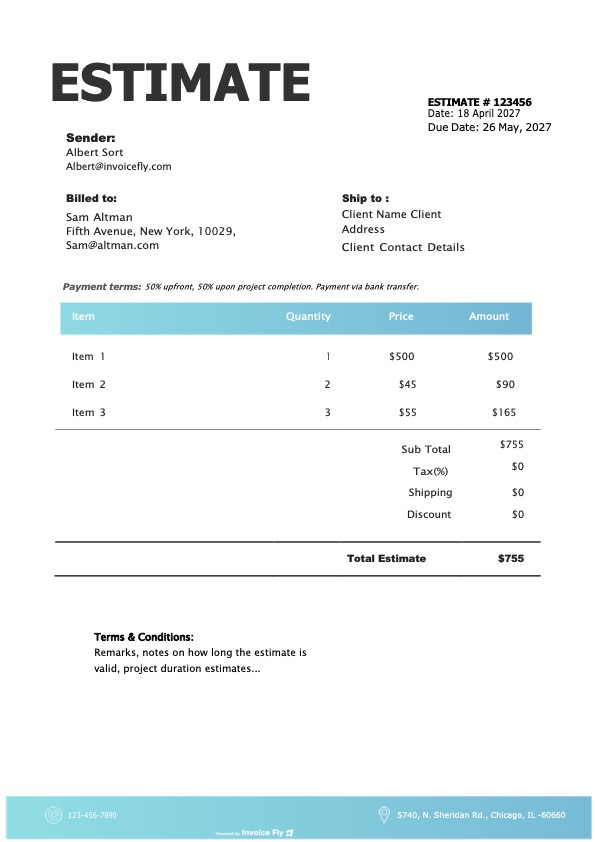
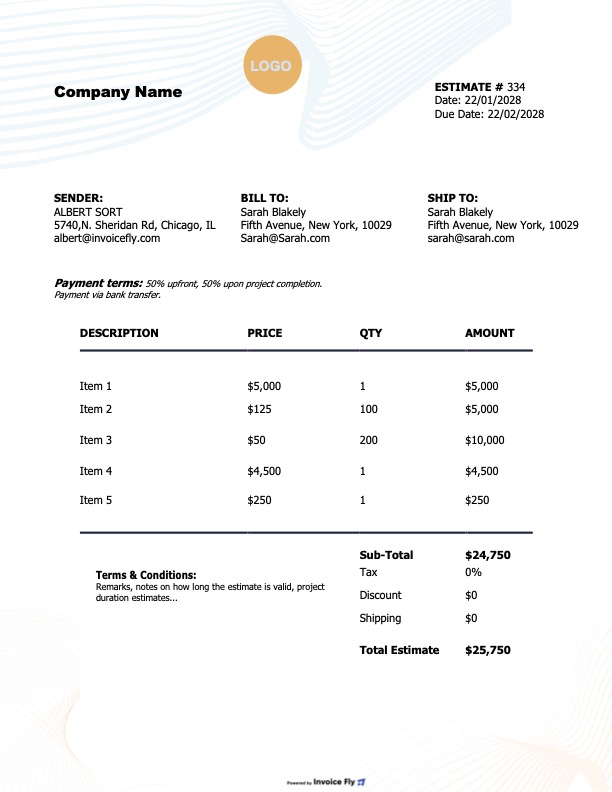
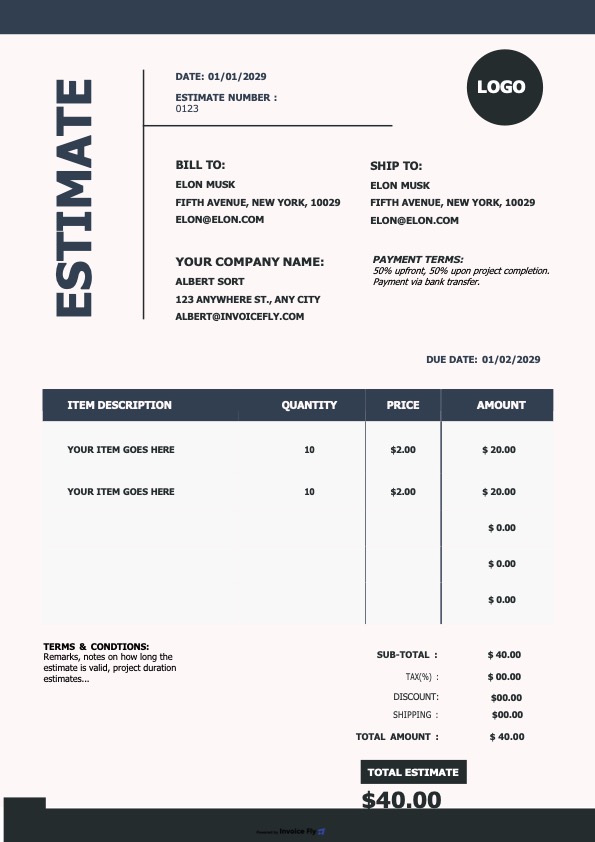
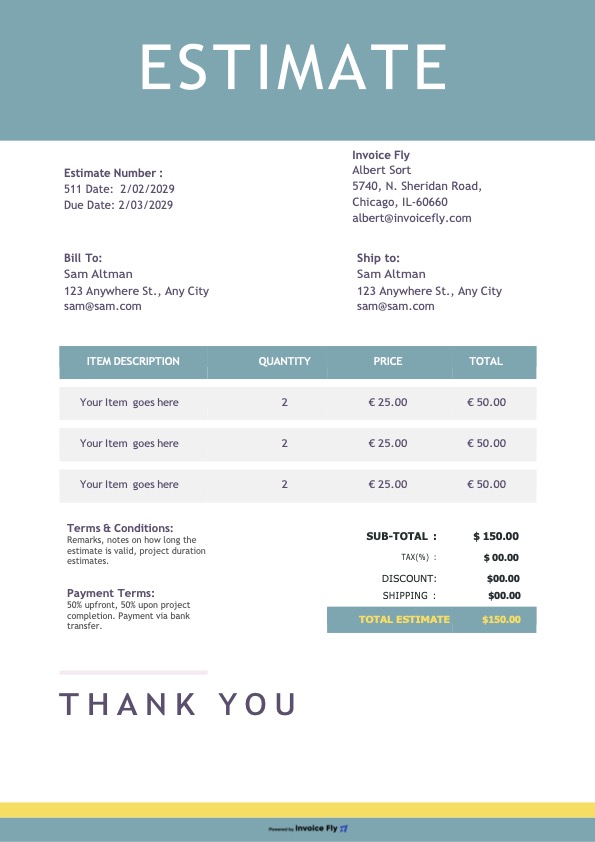
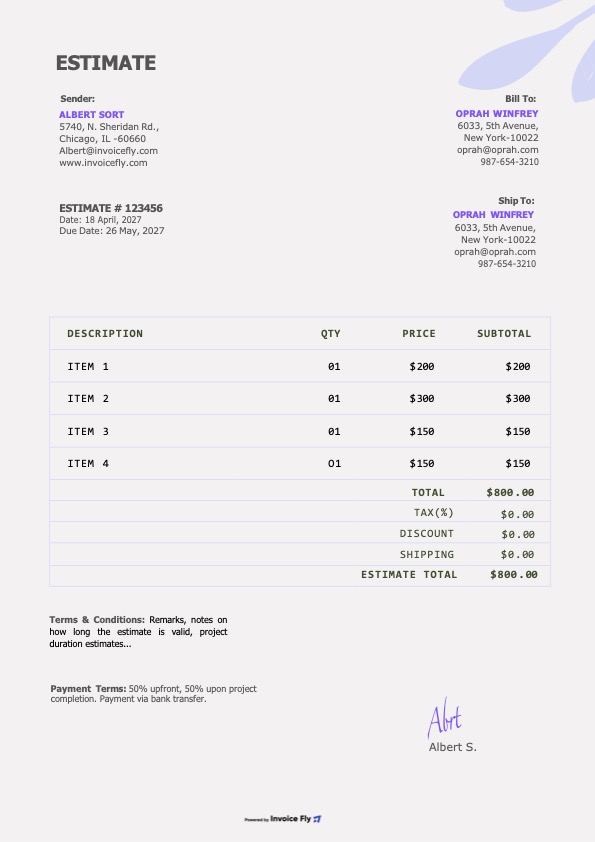
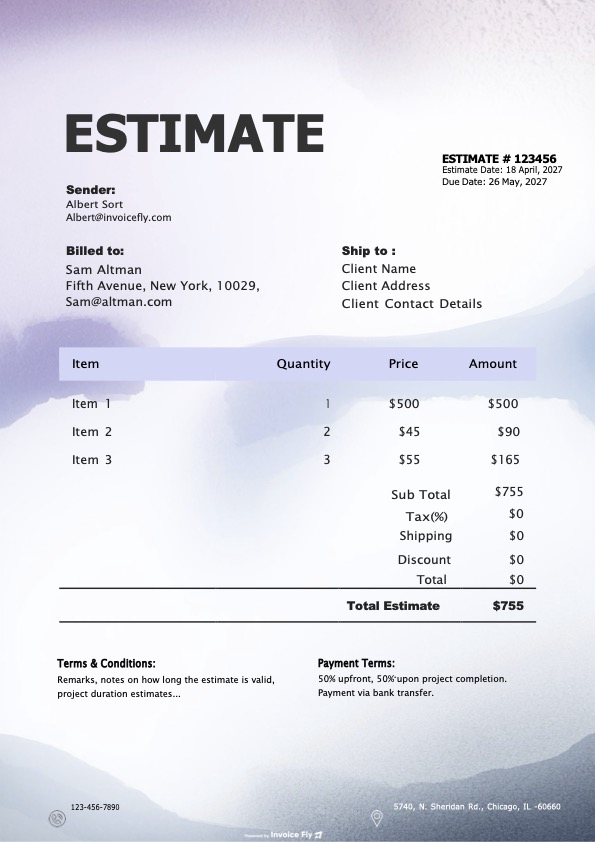
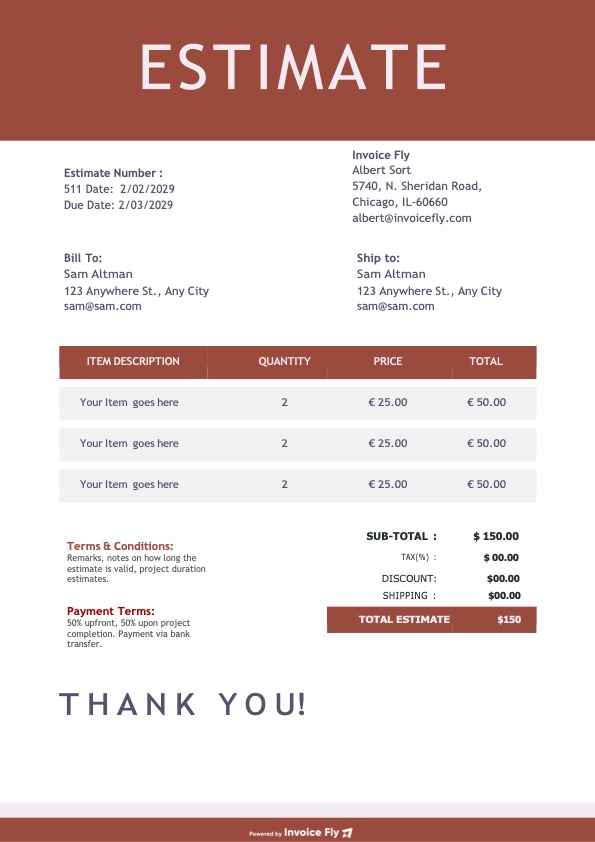
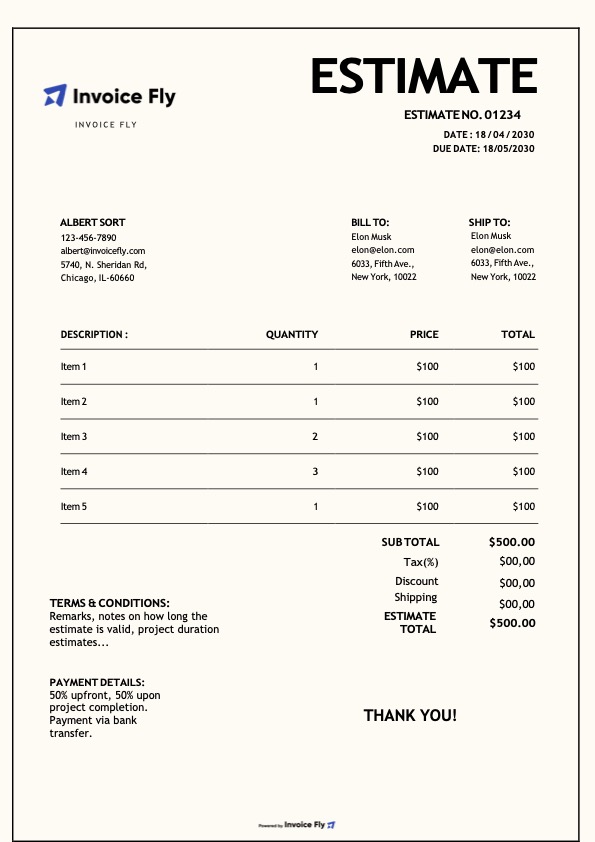
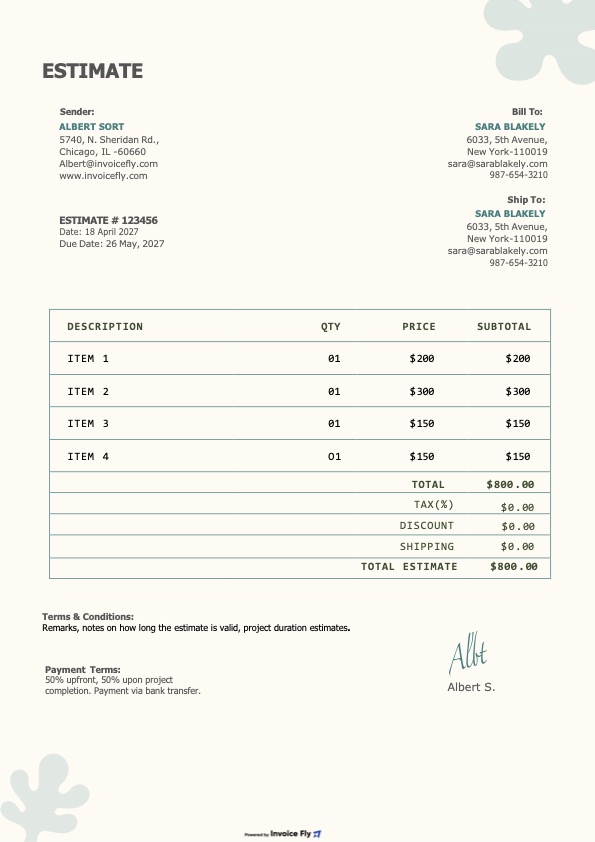
Create a roofing estimate in minutes with Invoice Fly. Add your roofing services, labor, materials, and costs to prepare a clear, professional estimate for your client. Customize your template for roof repairs, replacements, or new installations, then download and share it with your client.
Benefits of Using a Roofing Estimate Template
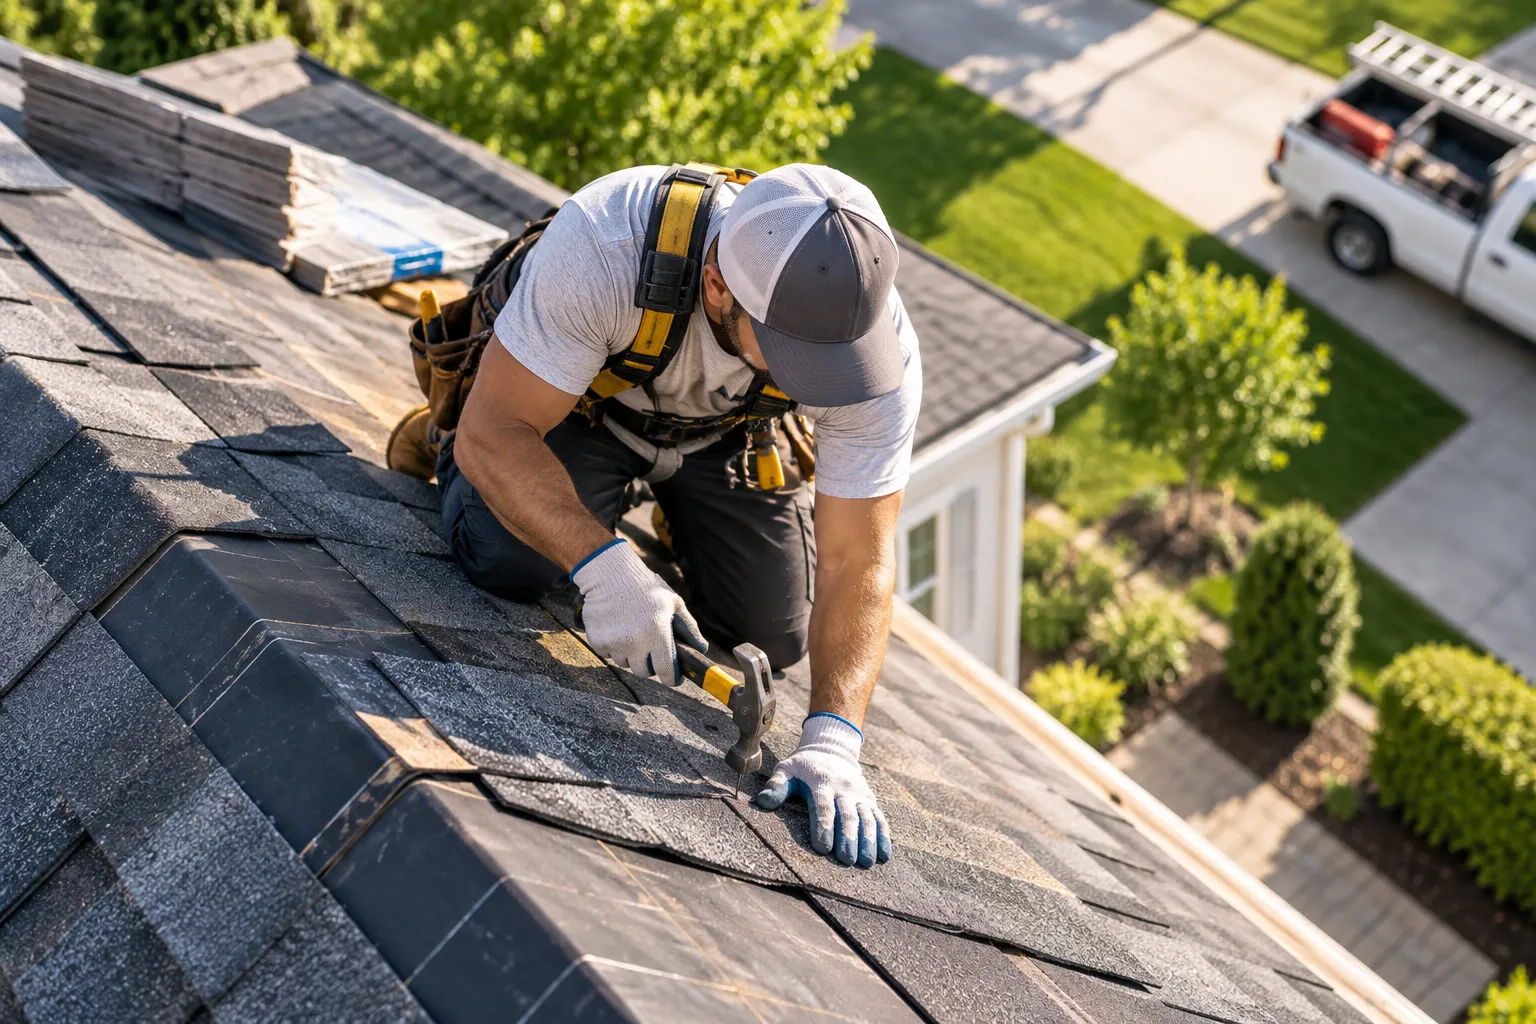
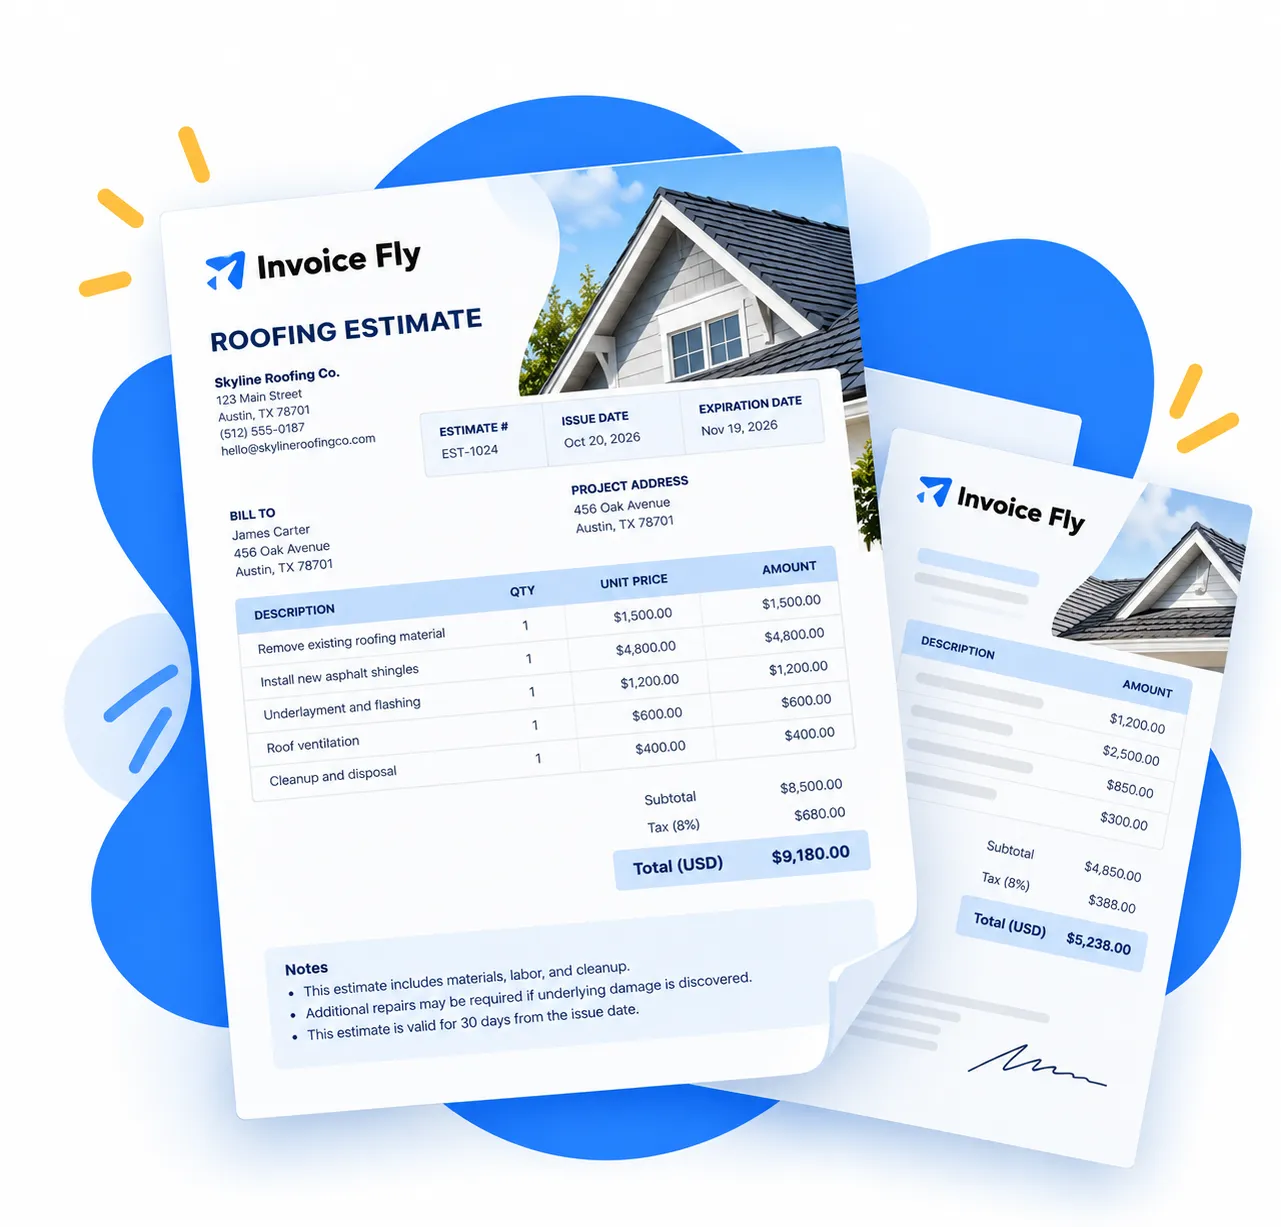
A roofing estimate template helps roofing contractors calculate job costs, prepare professional quotes, and give clients a clear breakdown of roofing work before a project begins.
-
Accuracy and Consistency
A roofing estimate template helps you document labor, shingles, underlayment, flashing, and other material costs in a consistent format. This reduces calculation errors and helps ensure essential project details aren’t overlooked.
-
Professionalism
Use a professional roofing estimate template to outline the proposed work, materials, and costs clearly. This helps clients understand your pricing, builds trust, and sets expectations before work begins.
-
Time-Saving
A free roofing estimate template lets you prepare estimates for roof repairs, replacements, and new installations without creating each document from scratch. Add your project details and pricing to get your estimate ready faster.
-
Better Cost Control
Break down labor, materials, equipment, and other project expenses in your roofing estimate template to understand the full cost of each job. This helps you price bids accurately, manage expenses, and protect your profit margins.
What to Include in a Roofing Estimate Template
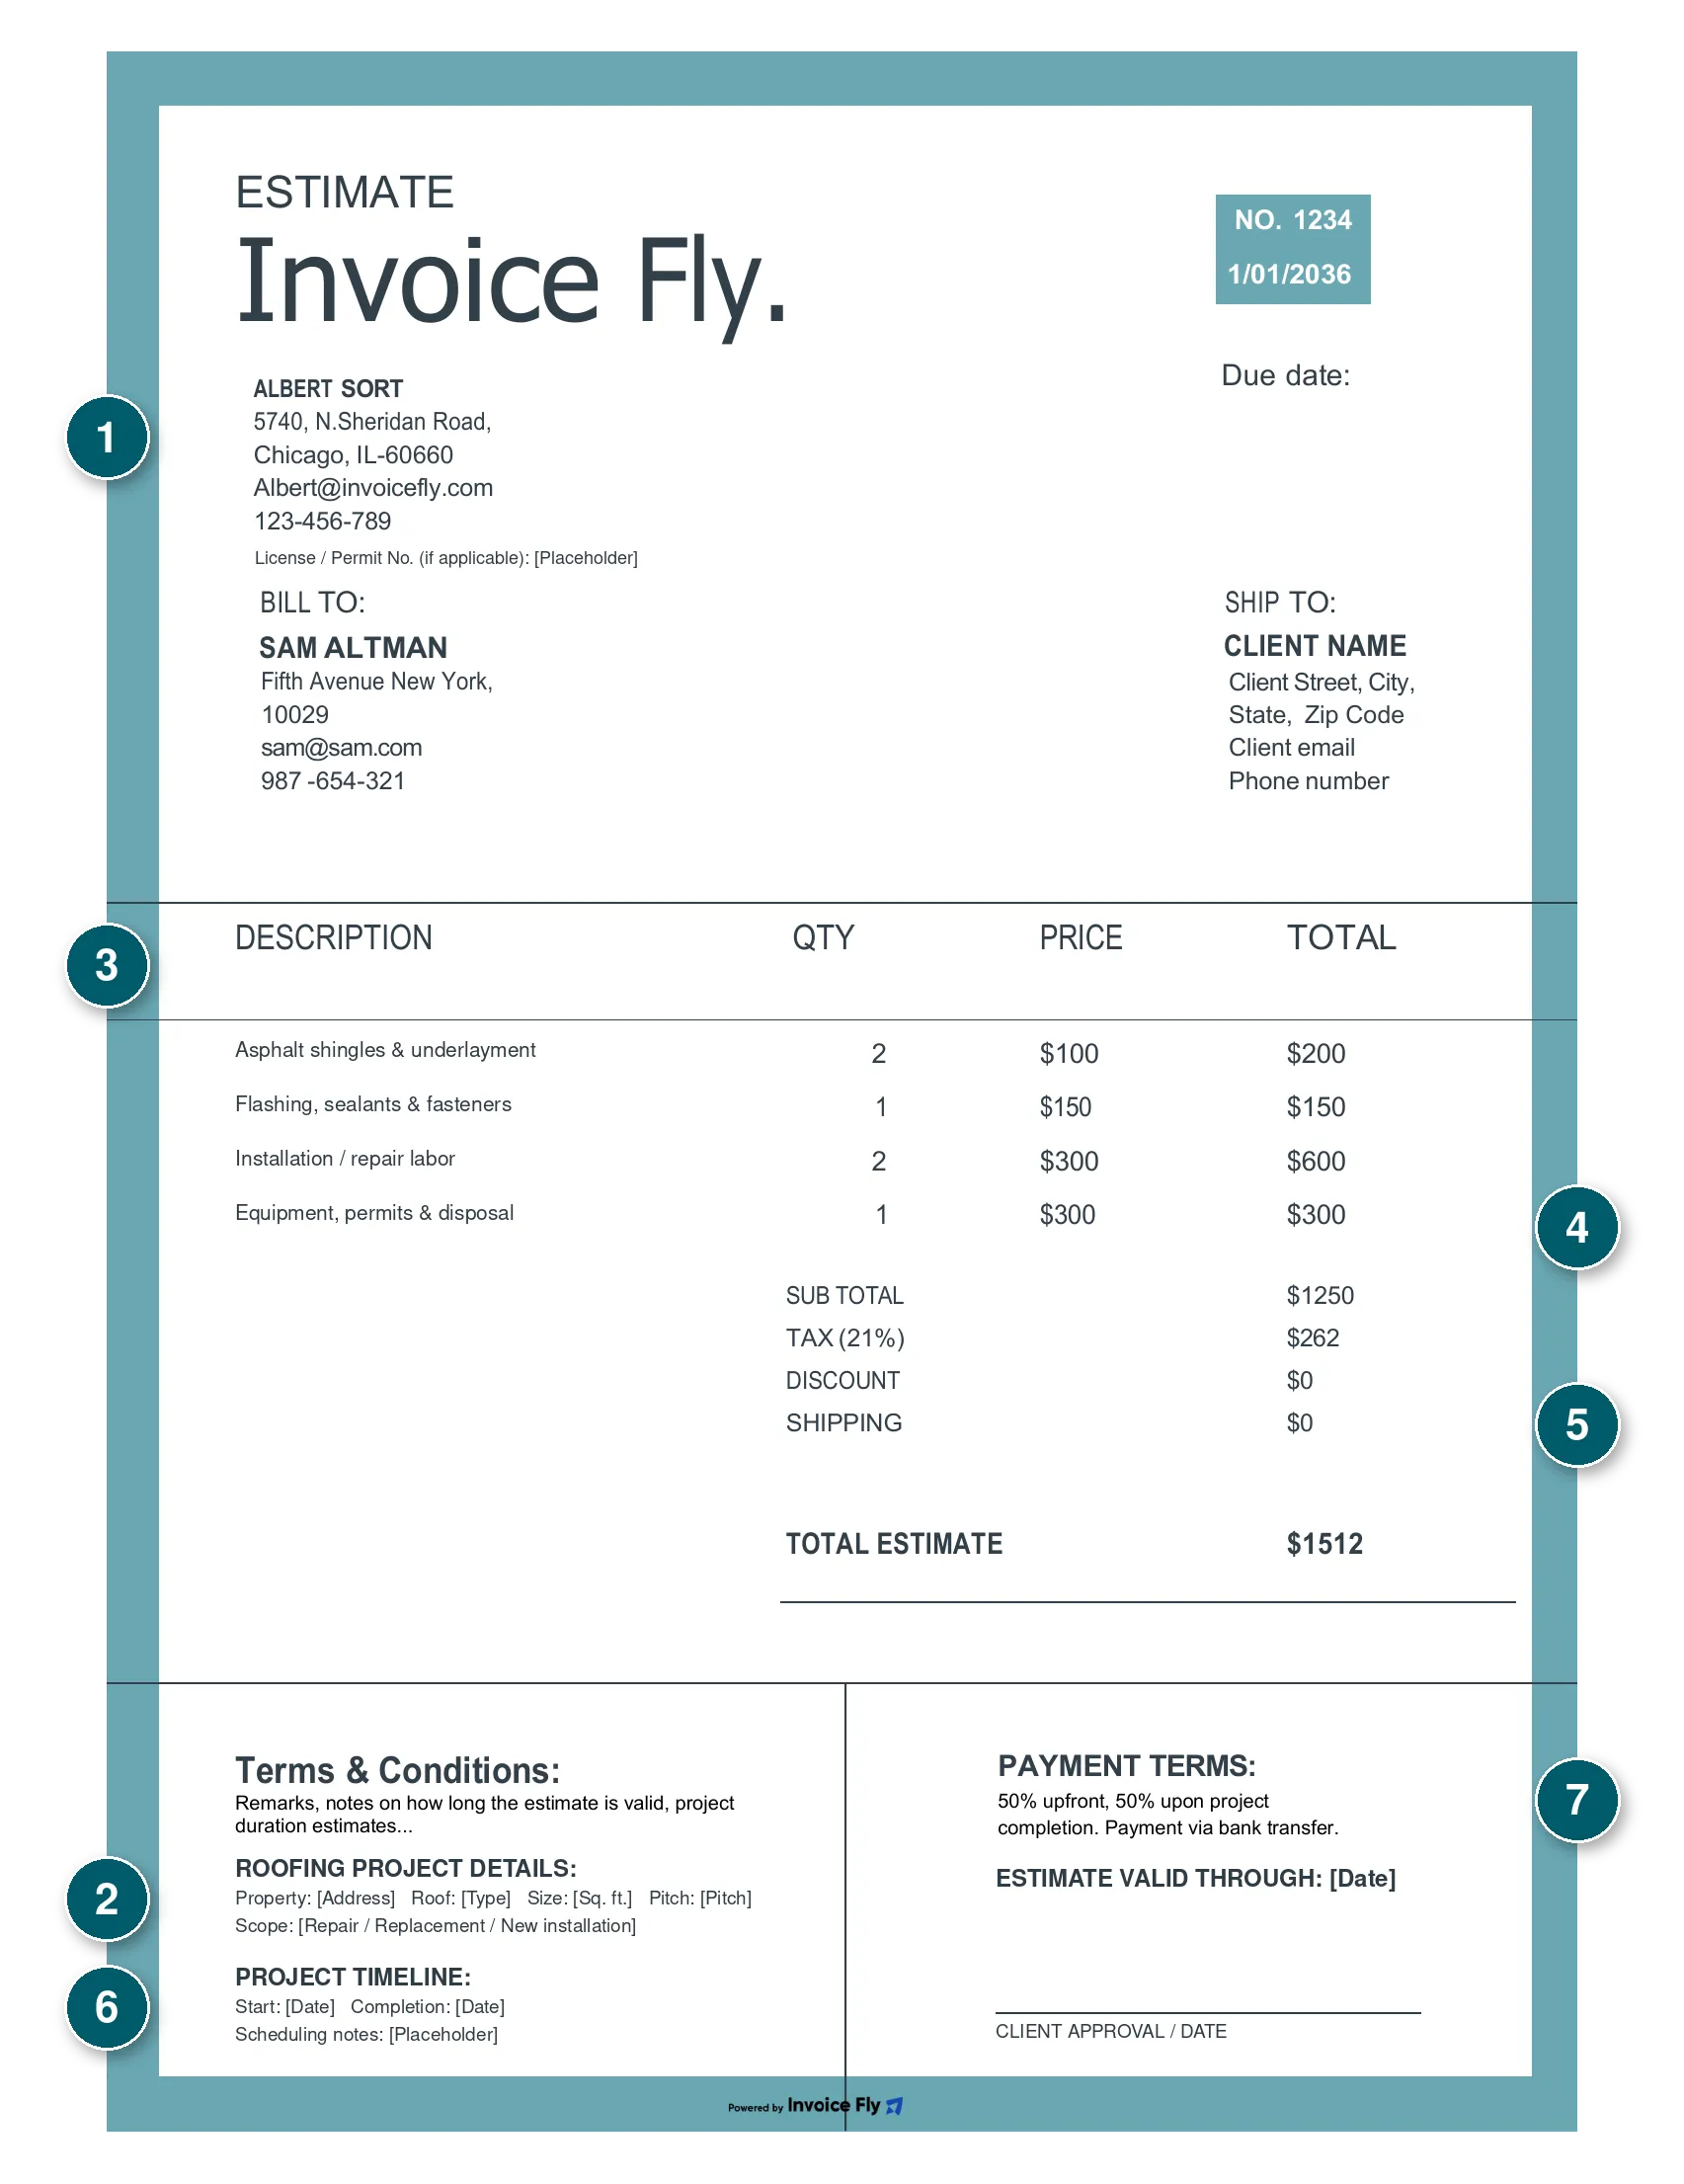
A roofing estimate template should include the details needed to calculate project costs and provide clients with a clear, accurate quote.
-
1
Contractor and Client Information
Include your roofing business name, contact details, license number, and the client’s name, address, and phone number.
-
2
Roofing Project Details
Specify the property address, roof type, estimated roof size, pitch, and scope of work, such as roof repairs, replacement, or new installation.
-
3
Materials and Labor Costs
List roofing materials such as shingles, underlayment, flashing, and sealants, along with quantities, unit prices, and labor charges for installation, repairs, and removal.
-
4
Additional Expenses
Include equipment rental, waste disposal, delivery fees, permits, and other project-related costs.
-
5
Subtotal, Taxes, and Total
Break down material, labor, and additional costs, then calculate applicable taxes and the final estimated price.
-
6
Project Timeline
Add the expected start date, estimated completion date, and any important scheduling details.
-
7
Payment Terms and Approval
Outline deposit requirements, payment due dates, accepted payment methods, estimate validity, and a space for the client’s approval or signature.
Quick Tips for Creating Better Roofing Estimates
Want to create a professional roofing estimate? Follow these simple tips to impress clients and make your estimates clear and easy to understand.
-
1
Personalize Your Estimates
Tailor each roofing estimate to the client’s property, specific needs, and roofing project.
-
2
Add Important Dates
Include the issue date and expiration date so clients know how long your estimate is valid.
-
3
Highlight Important Details
Use the notes section to mention special requirements, potential extra costs, or other details your client should know.
-
4
Include Your Company Logo
Add your roofing business logo and contact information to give your estimate a professional, recognizable look.
-
5
Set Clear Payment Terms
Specify deposit requirements, payment deadlines, and accepted payment methods so clients know what to expect.
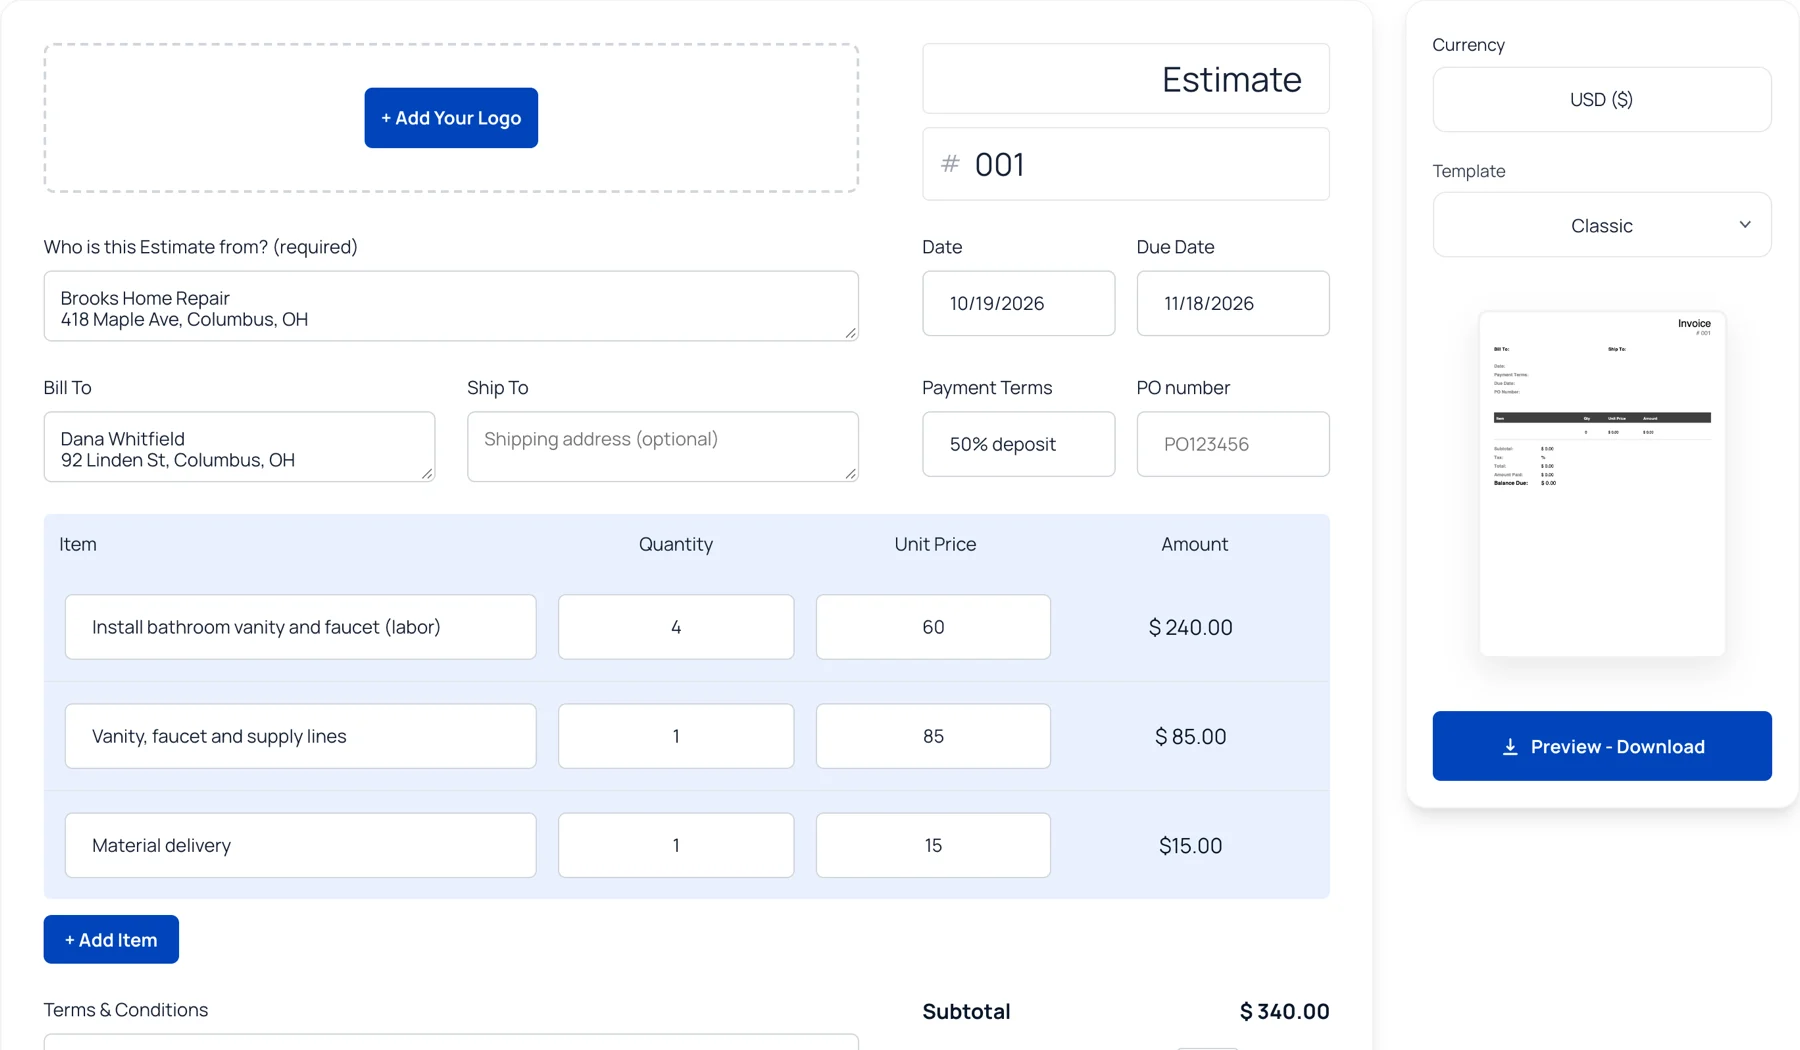
Create your first estimate free with our Online Estimate Generator.
Free Estimate Generator

Roofing Estimate Template FAQs
A roofing estimate is a document that outlines the expected cost of a roofing project before work begins. It helps homeowners understand the proposed work, required materials, labor costs, and total estimated price.
A roofing estimate typically includes the contractor’s and client’s contact information, project scope, material and labor costs, additional expenses, payment terms, and estimated timeline. Providing a clear cost breakdown helps clients understand the quote and make informed decisions before approving the project.
To create a roofing estimate, inspect the roof, define the scope of work, calculate material and labor costs, and include any additional expenses. Then organize these details into a clear estimate that the homeowner can review before work begins.
Follow these steps:
- Inspect the roof: Identify damage, assess the roof’s condition, and determine whether the project requires repairs, replacement, or a new installation.
- Measure the roof: Calculate the roof area and account for its pitch, shape, and complexity.
- Calculate project costs: Estimate materials, labor, equipment, permits, and waste disposal.
- Set your price: Include business overhead and your target profit margin.
- Prepare the estimate: Add the scope of work, itemized costs, project timeline, payment terms, and estimate expiration date.
Use Invoice Fly’s free estimate generator to organize project details and prepare a professional estimate.
A roofing estimate should clearly explain the work being proposed and how the total price is calculated. Include these essential details:
- Contractor and client information: Business name, contact details, and property address.
- Roofing project details: Roof type, estimated area, and scope of work.
- Materials and labor: Material descriptions, quantities, unit prices, and labor charges.
- Additional expenses: Equipment rental, delivery, permits, and disposal fees, where applicable.
- Cost breakdown: Subtotal, applicable taxes, discounts, and total estimated price.
- Timeline and payment terms: Expected project dates, payment schedule, and estimate validity.
- Estimate number: A unique reference number for tracking and recordkeeping.
A roofing estimate outlines the expected cost of a project before work begins, while a roofing invoice requests payment for completed work or an agreed payment milestone.
An estimate generally includes the proposed services, anticipated material and labor costs, and expected total. An invoice records the amount being charged, payment due date, and outstanding balance, if applicable.
The final invoice may differ from the original estimate if the client approves changes to the project scope or additional work. Contractors should communicate and document these changes clearly before proceeding.
When it is time to bill a client, use Invoice Fly’s free invoice generator to prepare a professional invoice.
The best roofing estimate template format depends on how you calculate costs, customize documents, and share estimates with clients.
- PDF: Best for sharing or printing a finalized estimate while preserving its layout. Editing usually requires a PDF editor or the original editable file.
- Excel: Useful for itemized estimates with formulas that calculate material quantities, labor costs, and totals.
- Google Sheets: Convenient for editing estimates online, using formulas, and accessing documents across devices.
- Word: Suitable for customized estimates with detailed descriptions, project notes, and flexible formatting.
- Google Docs: Useful for preparing and sharing estimates that include detailed scopes of work and project conditions.
Estimating a roofing job involves measuring the roof, calculating material and labor costs, accounting for additional expenses, and setting a price that covers your costs and target profit.
Step 1: Inspect the roof. Check the existing roofing layers, decking condition, flashing, ventilation, roof pitch, valleys, and access conditions. Document visible damage and potential repairs.
Step 2: Measure the roof. Calculate the total roof surface area. One roofing square equals 100 square feet of roof area. Account for the roof’s complexity and material waste when calculating quantities.
Step 3: Price the materials. Check current supplier prices for shingles, underlayment, flashing, fasteners, sealants, and other required materials. Include quantities and delivery costs.
Step 4: Calculate labor. Estimate the crew hours or days required for installation, repairs, tear-off, and cleanup. Consider roof height, pitch, complexity, and accessibility.
Step 5: Add additional expenses. Include equipment rental, dumpster fees, permits, disposal, subcontractors, and other project-related costs.
Step 6: Calculate overhead and profit. Account for business expenses such as insurance, vehicles, tools, and administration. Set your price based on total costs and your desired profit margin.
Step 7: Prepare the estimate. Include the scope of work, itemized costs, estimated timeline, payment terms, relevant warranty details, and exclusions. Review all calculations before sending the estimate to the homeowner.
Invoice Fly’s online estimate generator can help you organize the final cost breakdown.
Start by calculating the total roof surface area, including each roof plane. Divide the total square footage by 100 to determine the number of roofing squares before adding waste.
For example, a roof measuring 2,500 square feet equals 25 roofing squares before accounting for waste. The additional material required depends on the roof’s shape, pitch, valleys, dormers, installation pattern, and roofing material.
Next, calculate the quantities and costs of shingles, underlayment, flashing, fasteners, sealants, and other supplies. Use accurate measurements, supplier specifications, and current prices rather than relying on a standard waste allowance for every project.
Include material quantities and prices in your roofing estimate so you can explain the cost breakdown clearly to homeowners.
Calculate roofing labor costs by estimating the time and crew size required to complete the job, then applying your labor rates. Include installation, removal of existing materials, repairs, preparation, and cleanup where applicable.
Consider factors such as roof pitch, height, accessibility, material type, and design complexity. Historical records from similar projects can help you estimate crew productivity and labor costs more accurately.
List labor charges clearly in your roofing estimate so clients can understand the proposed costs. After each project, compare estimated labor with actual expenses to improve future estimates and avoid underpricing jobs.
Roofing contractors should calculate their total project costs before setting a price. These costs may include materials, labor, equipment, permits, disposal, subcontractors, and a share of business overhead.
Once you know your costs, set a selling price that supports your target profit margin. Remember that profit margin and markup are different: margin is profit as a percentage of the selling price, while markup is calculated as a percentage of the cost.
For example, if a roofing project costs €5,000 and you want a 20% profit margin, the selling price would be €6,250 before applicable taxes. This leaves €1,250 in profit, assuming your cost estimate is accurate and no unexpected expenses arise.
Review material prices and labor assumptions regularly to keep your estimates accurate and your business profitable.
A professional roofing estimate should be easy to read, clearly branded, and tailored to the project. Use a consistent layout and group costs into logical categories so homeowners can understand the proposed work and pricing.
Include your company logo, business contact details, estimate number, issue date, expiration date, and a clear scope of work. Explain exclusions, potential additional charges, project assumptions, and payment terms to help prevent misunderstandings.
Yes, Invoice Fly makes it easy to create and manage roofing estimates. Start by choosing a template from our collection of free roofing estimate templates and customize it with your business details, roofing services, materials, and labor costs. Alternatively, use our free online estimate generator to calculate totals automatically and include applicable taxes and discounts. Once your estimate is ready, download the Invoice Fly app to send estimates and invoices directly to clients, manage payments, and set up recurring invoices for ongoing work. This helps you spend less time on paperwork and more time growing your roofing business.
Send a roofing estimate after inspecting the property, confirming the requested work, and gathering enough information to calculate the costs accurately. Sending it promptly helps homeowners review the proposed work and compare their options.
Before sending, check the material quantities, labor charges, additional expenses, timeline, and any assumptions or exclusions. Include an expiration date if material prices or availability may change, and explain when the estimate may need to be revised.
If the client requests changes to the project scope, update the estimate so both parties have a clear record of the proposed work and price. Follow up professionally to answer questions and discuss the next steps.
Invoice Fly Academy
Learn how to price roofing jobs, prepare accurate estimates, and manage your roofing business with practical guides from Invoice Fly Academy.
More Free Tools
Explore more free Invoice Fly tools to simplify estimating, invoicing, and payment management.
- PDFDOCXXLSX
- Roofing cost calculatorSquares20Per square$185Labor$3,000Roof cost$6,700
- Download PDFEstimate generatorESTIMATE#1024Roof inspection & repair$450.00Shingle replacement$3,200.00Total$3,650.00