- Home
- »
- Free Resources for Small Businesses
- »
- Free Templates
- »
- Free Invoice Templates
- »
- Roofing Invoice Template
Free Roofing Invoice Template
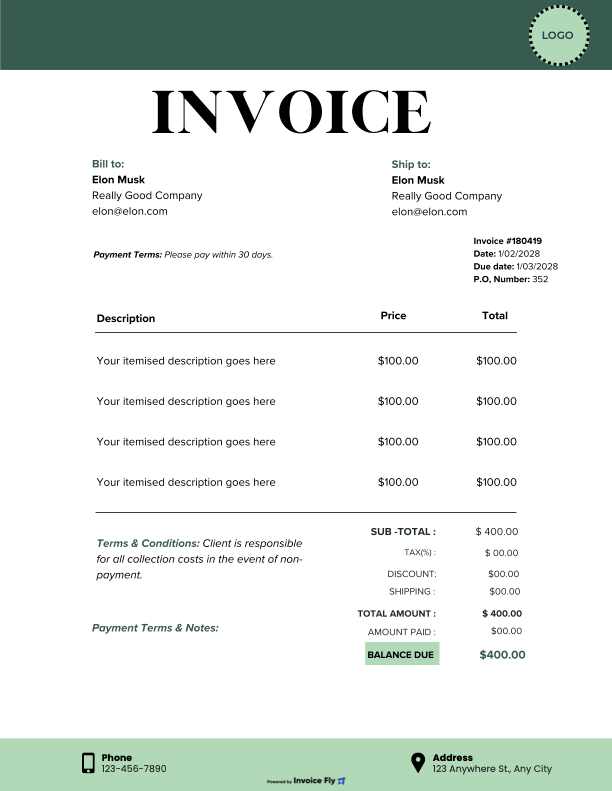
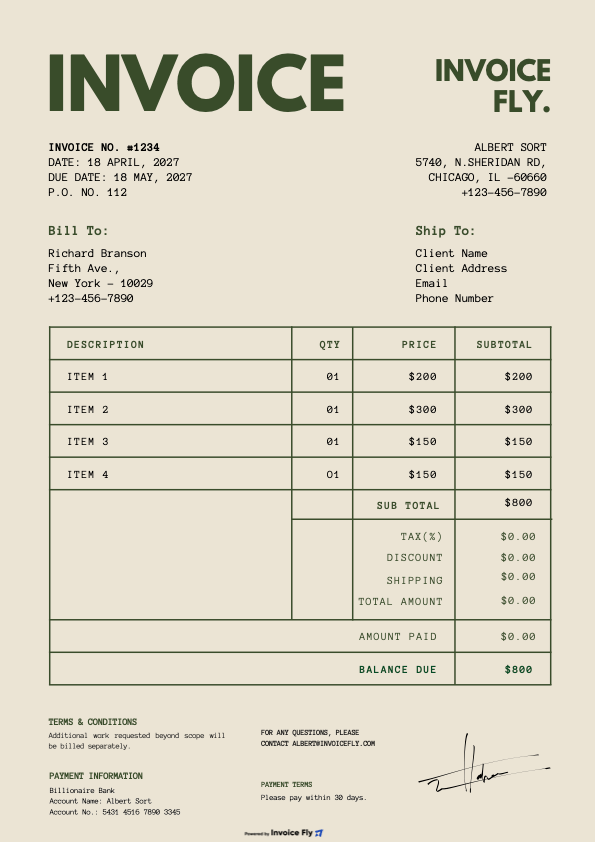
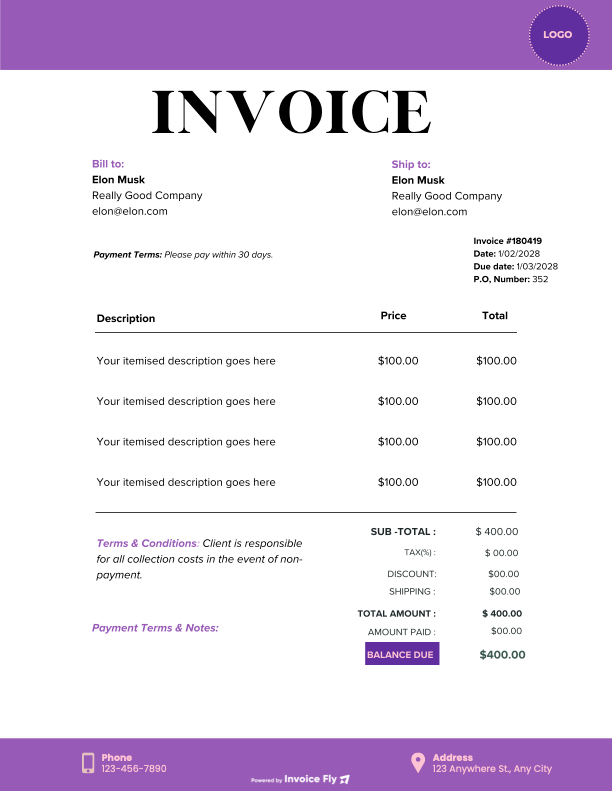
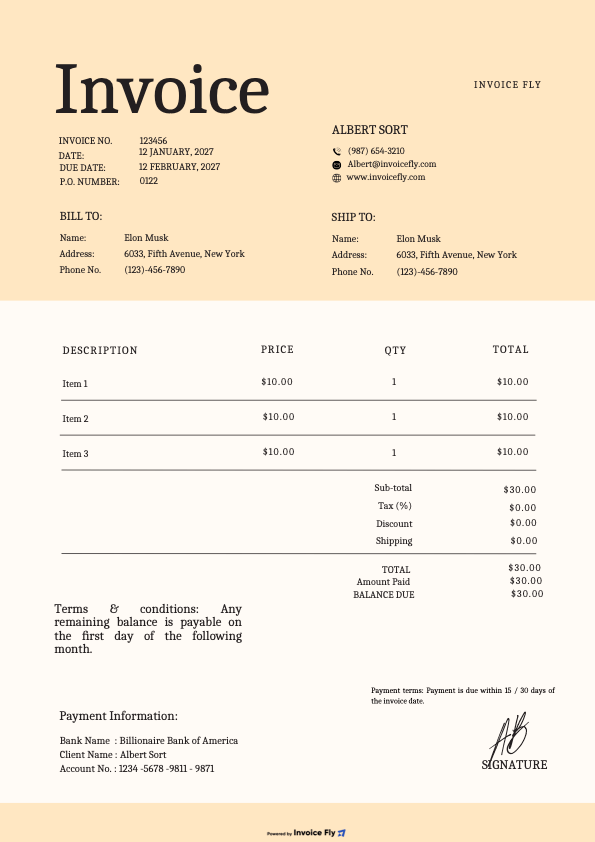
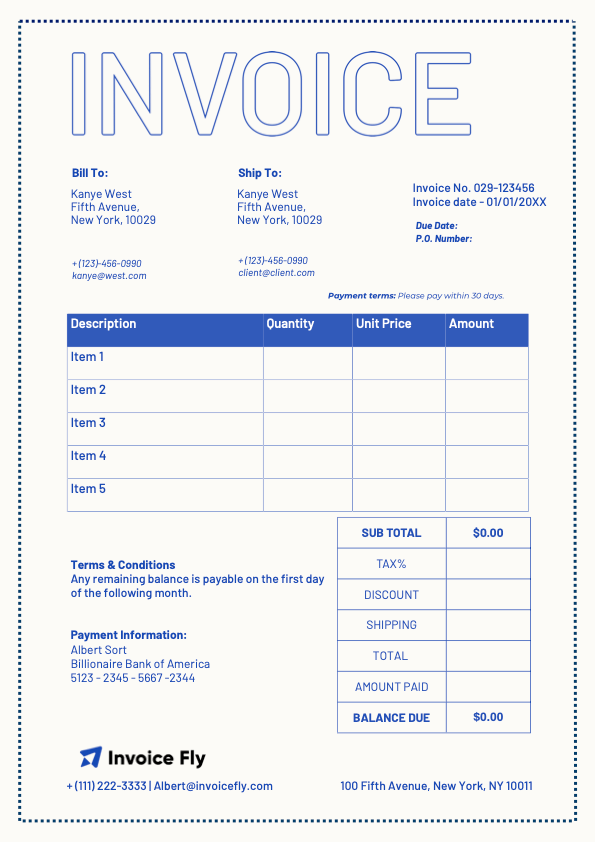
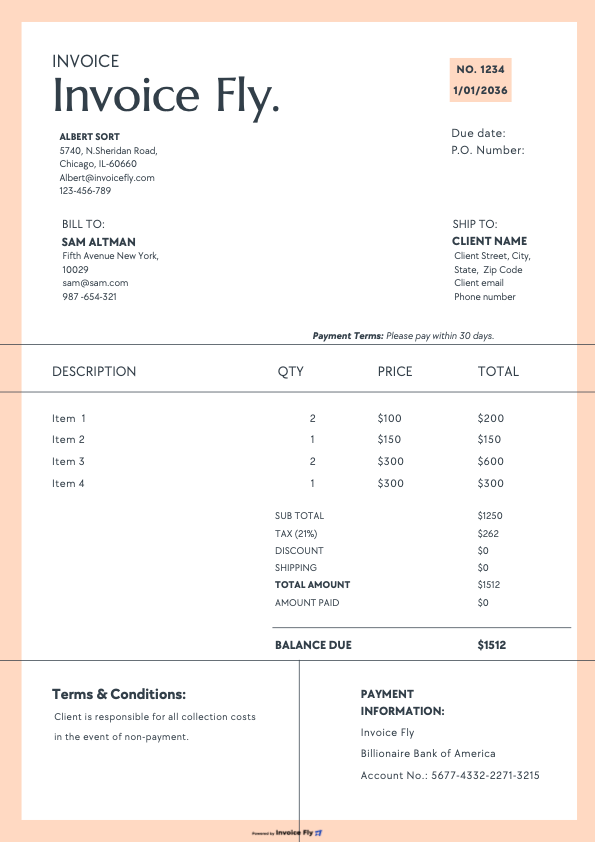
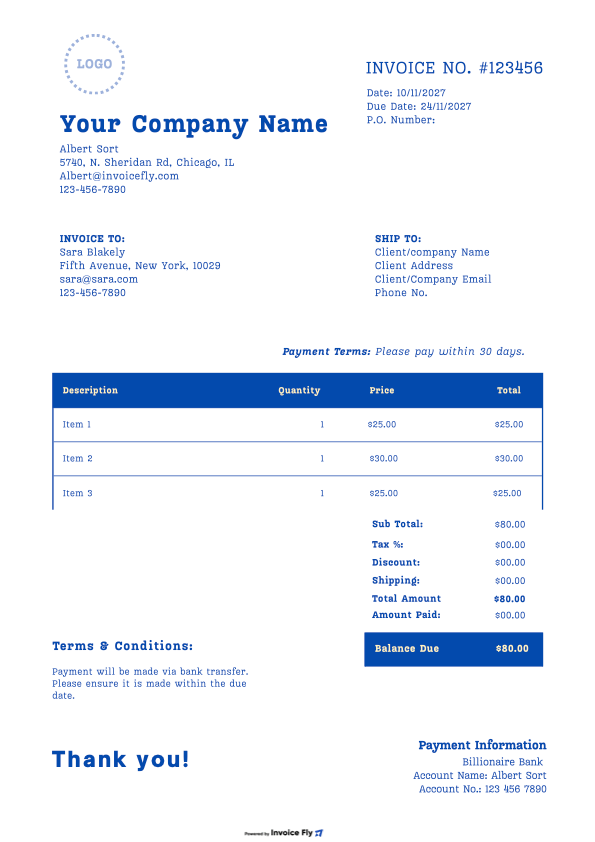
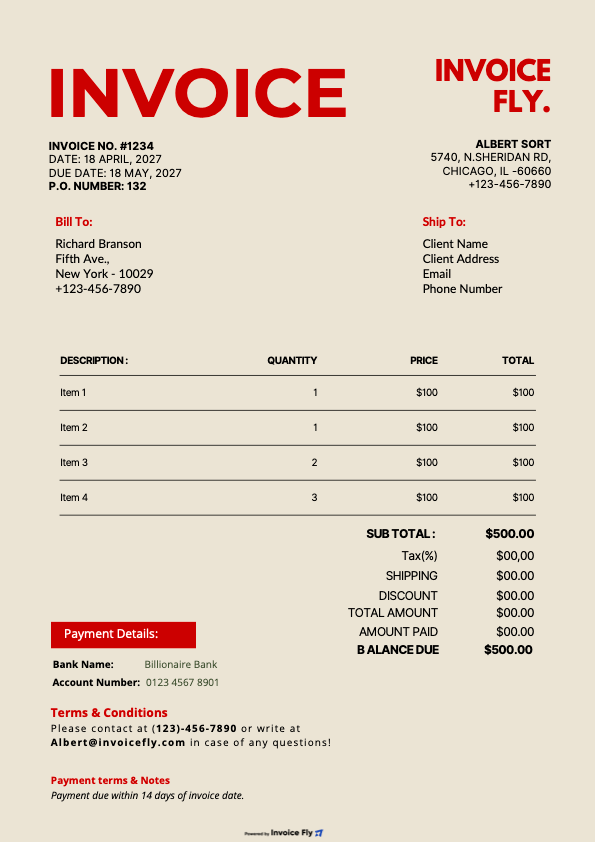
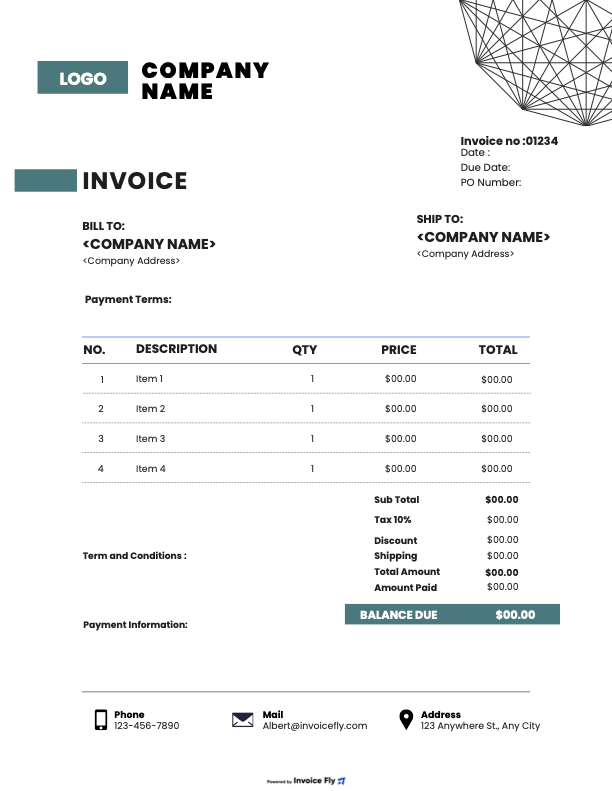
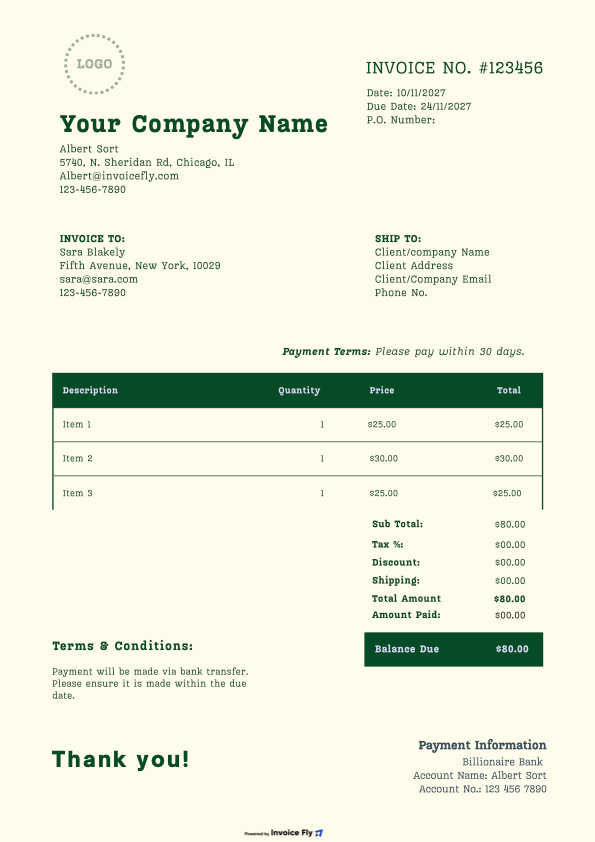
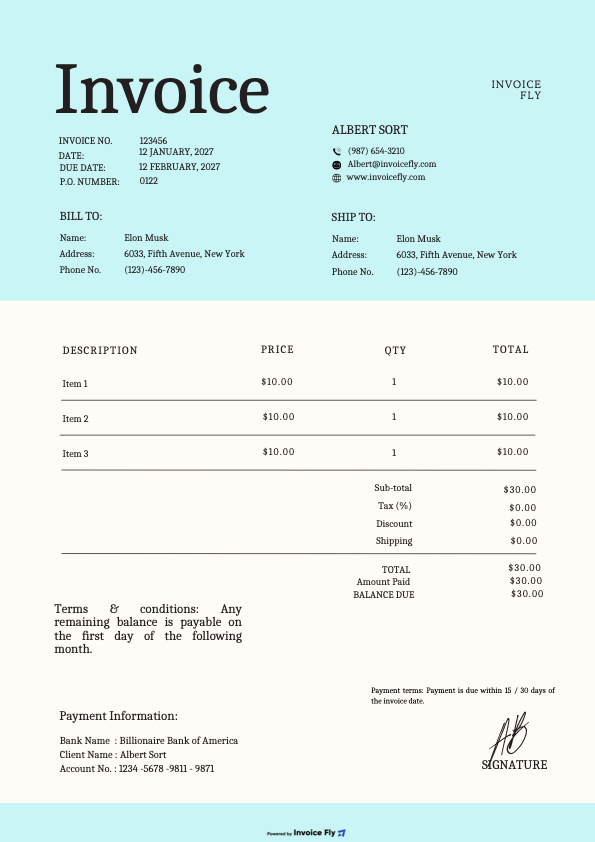
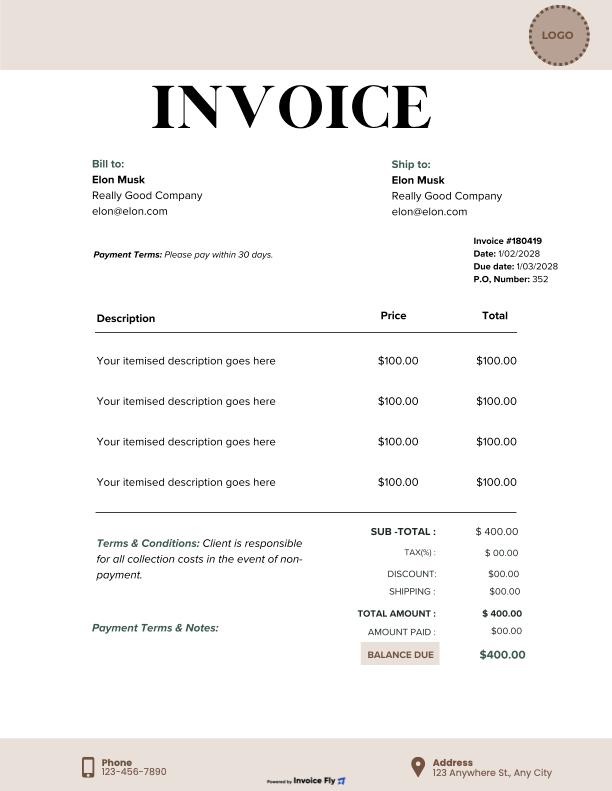
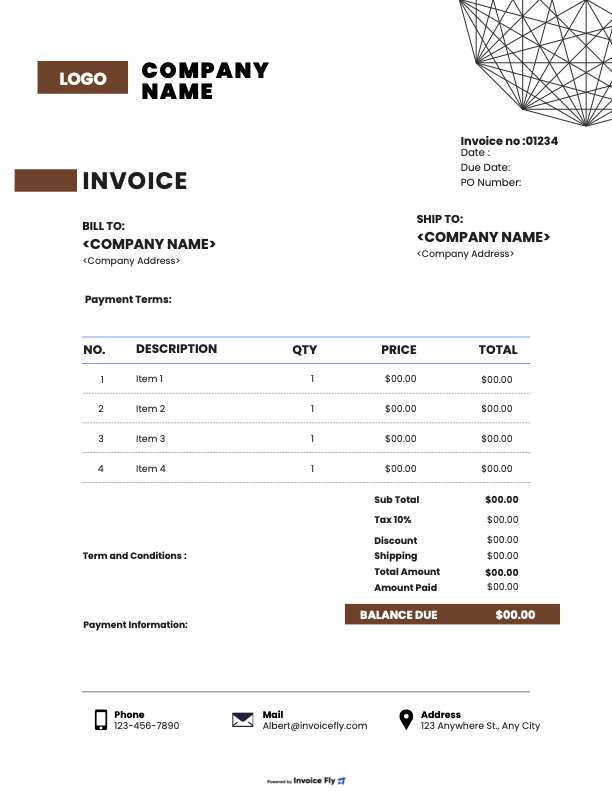
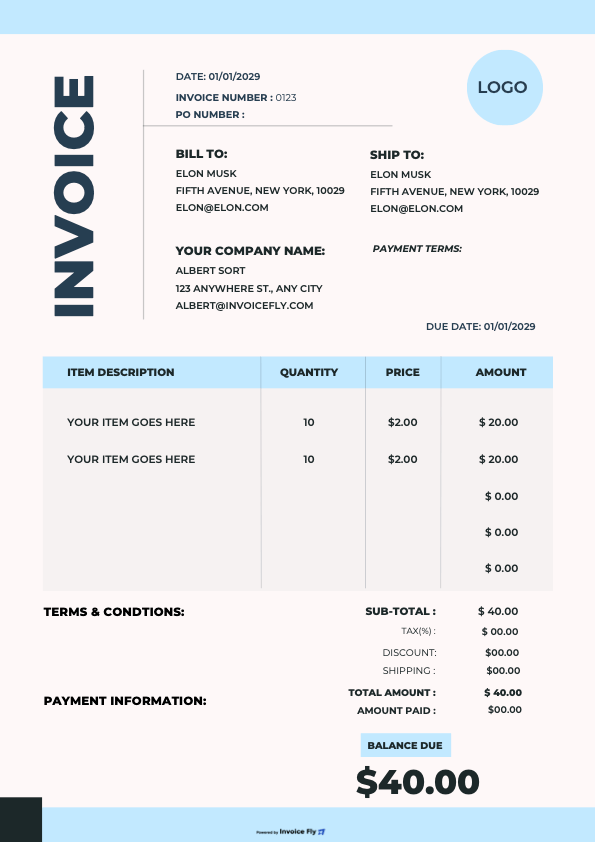
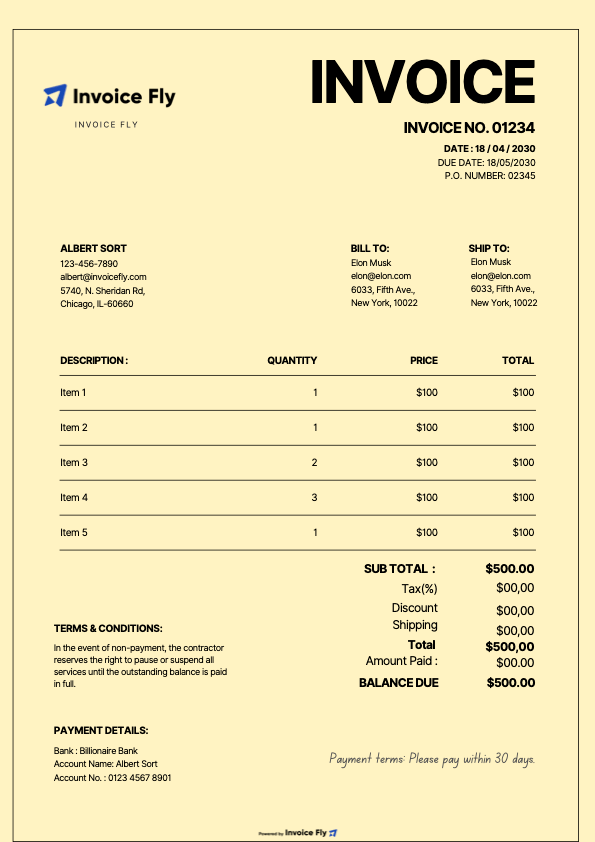
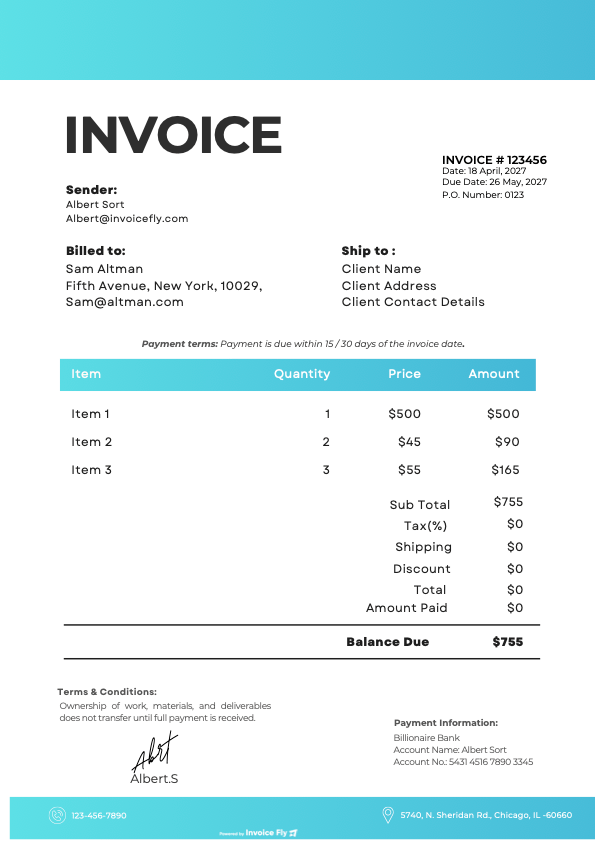
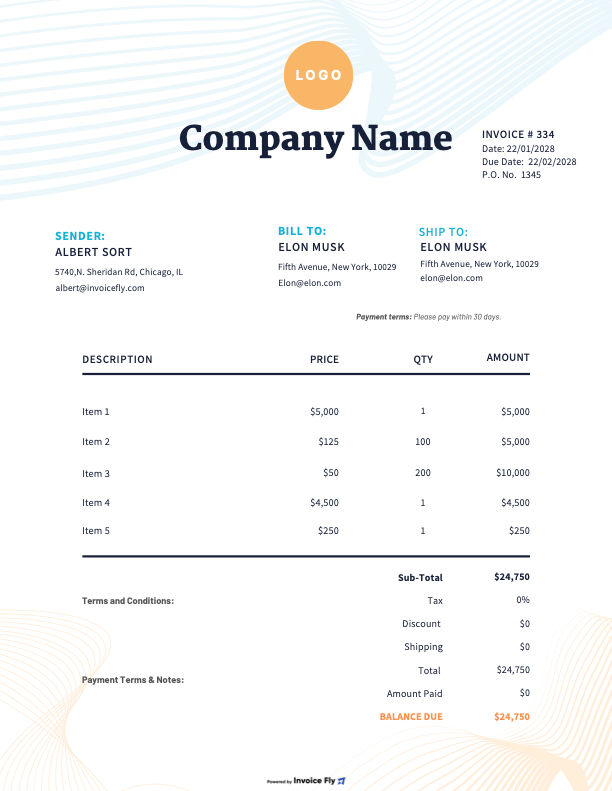
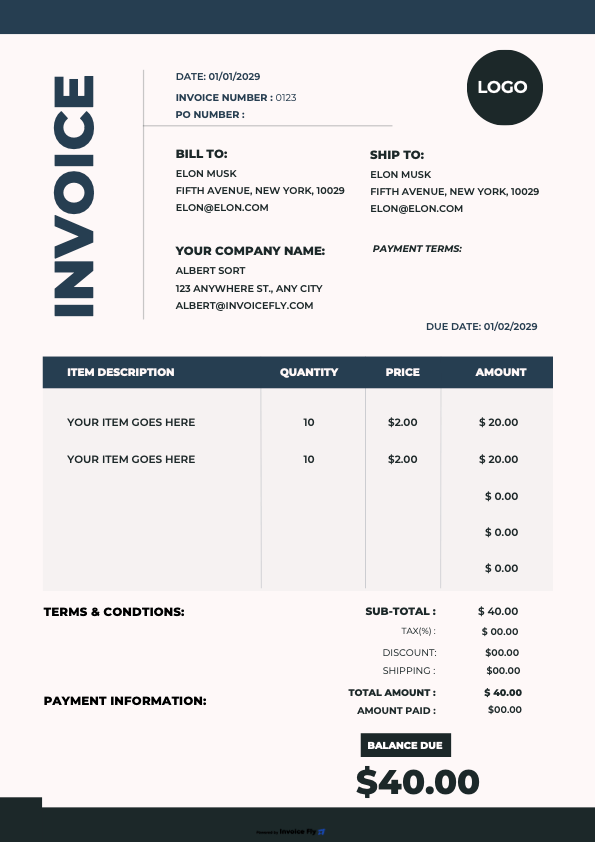
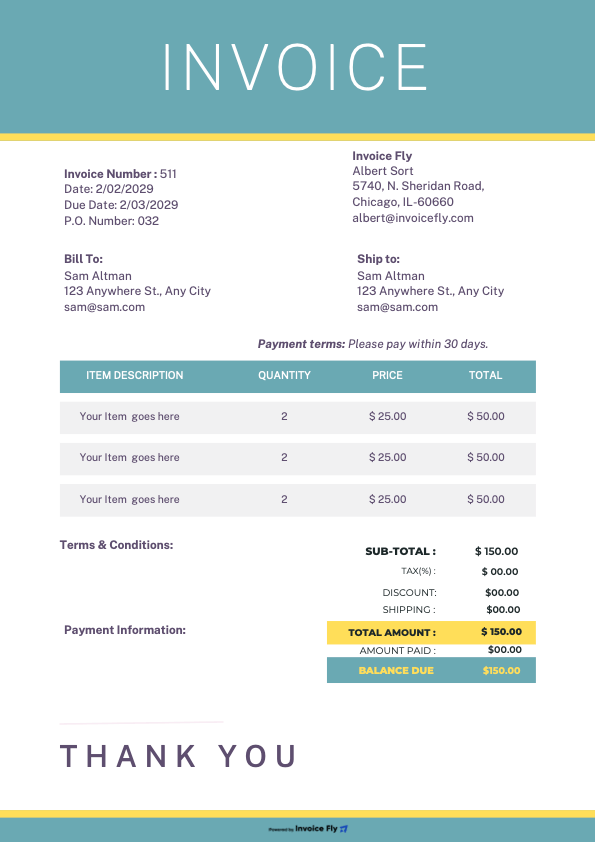
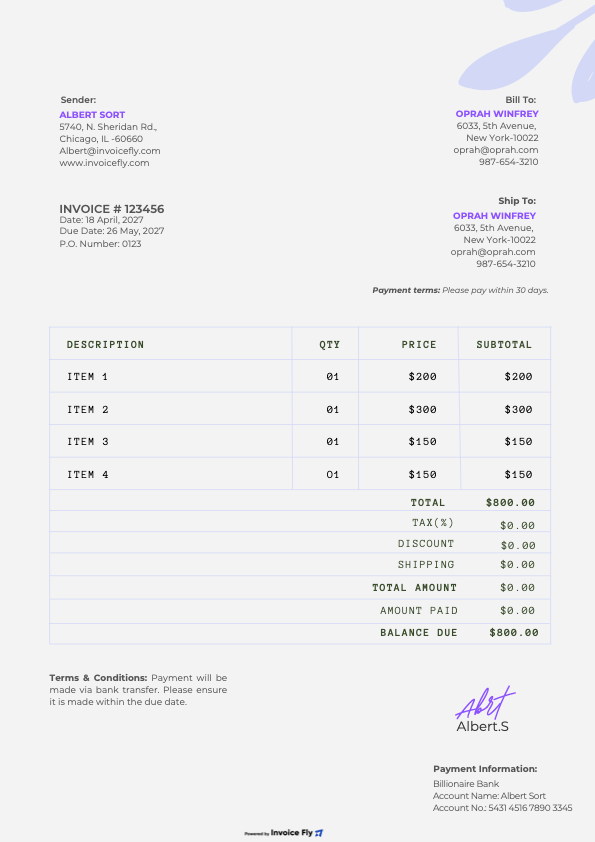
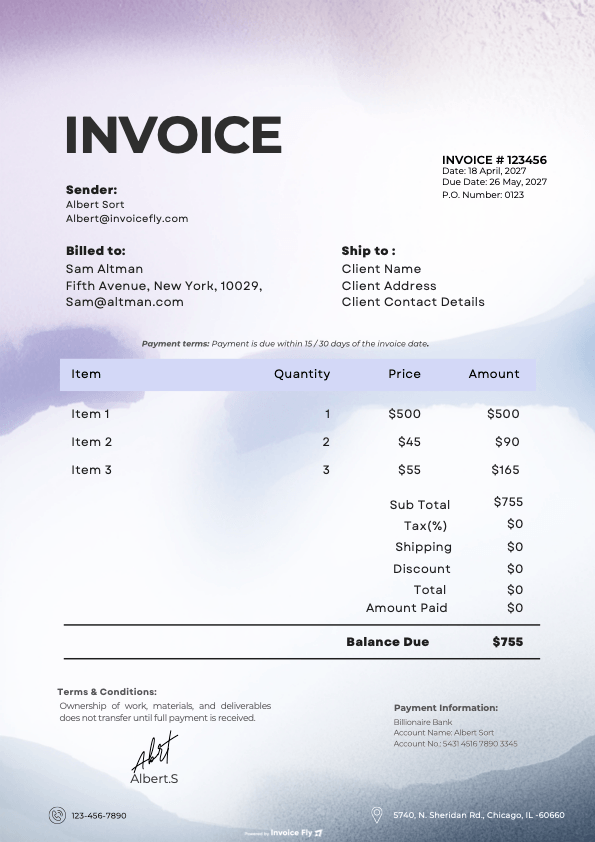
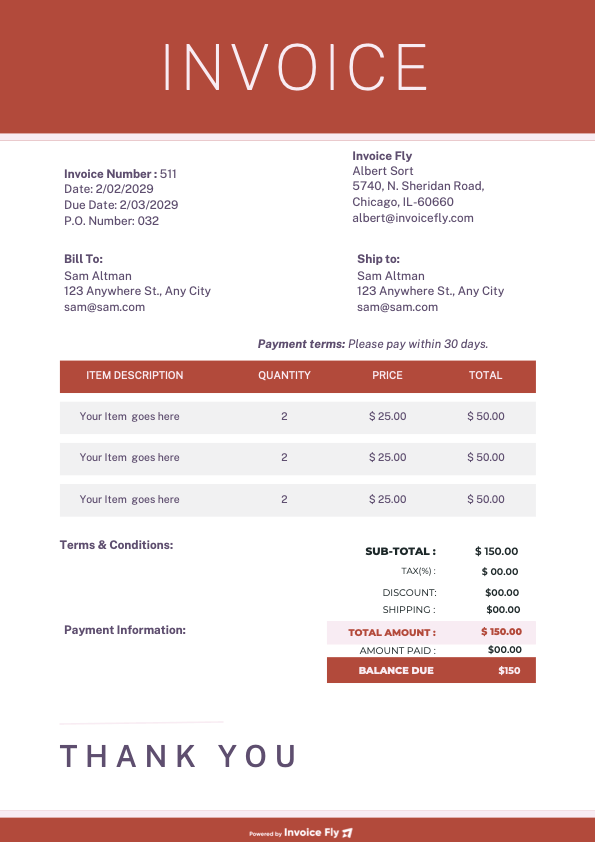
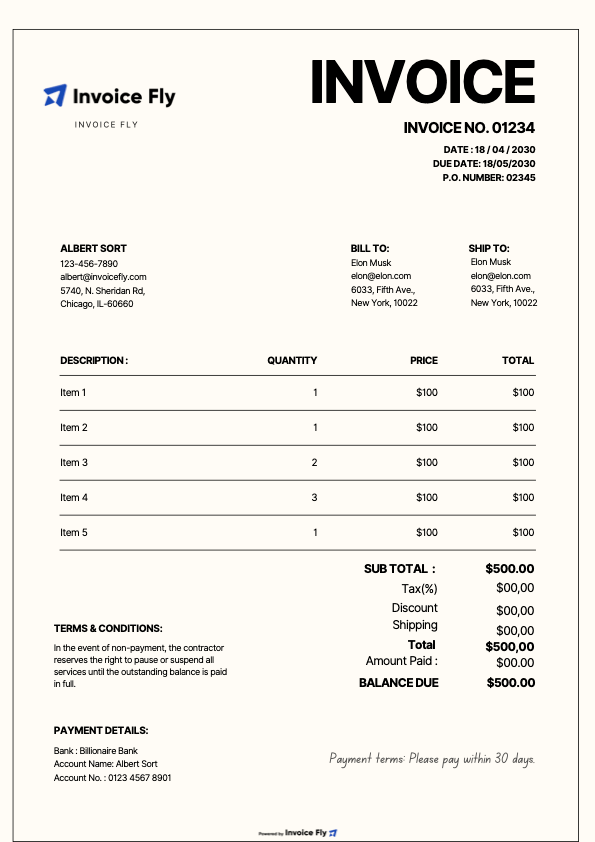
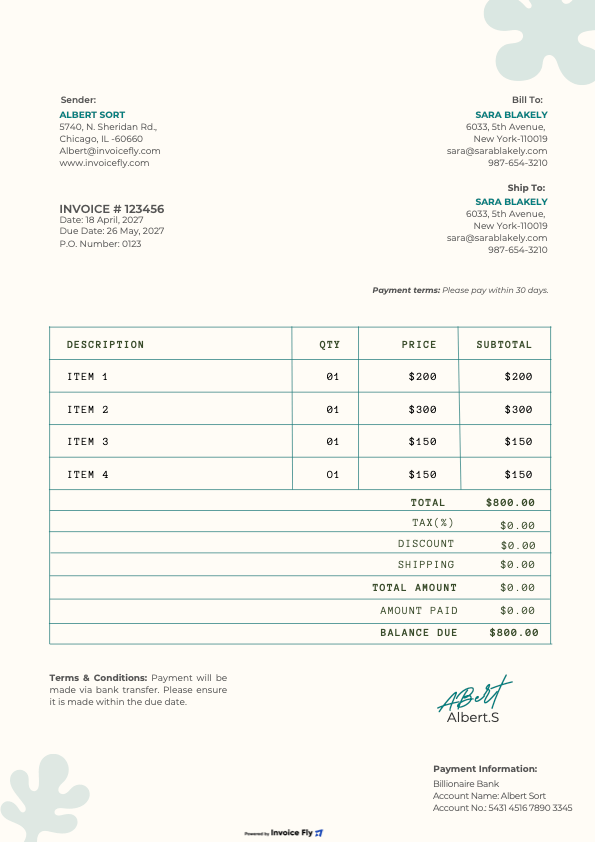
Create your roofing invoice with Invoice Fly. Choose a free template, add your services and costs, then edit in Google Docs, Google Sheets, Word, or Excel, or download as a PDF.
Benefits of Using a Roofing Invoice Template
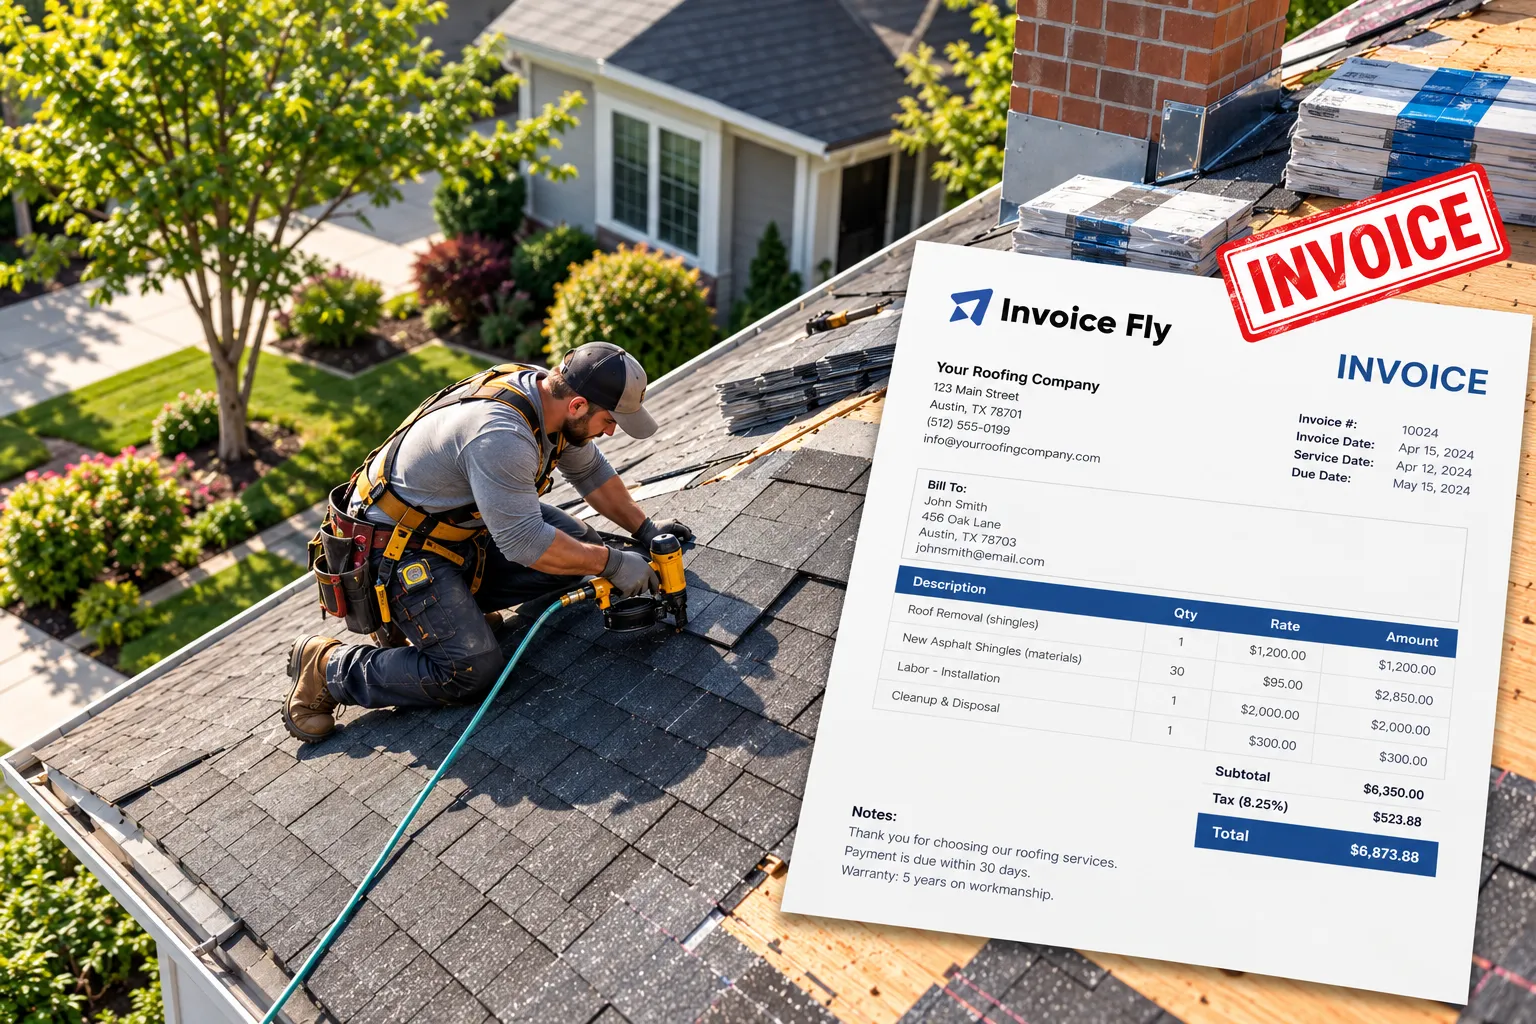
A roofing invoice template helps roofers and roofing companies create accurate invoices, save time on billing, and maintain professional financial records.
-
Accuracy and Consistency
A roofing invoice template keeps client details, roofing services, labor costs, and material charges organized, helping reduce billing errors across jobs.
-
Professionalism
A professional roofing invoice helps you present roof repairs, replacements, and installation costs clearly, building client trust and reinforcing your company’s reputation.
-
Time-Saving
A free roofing invoice template from Invoice Fly lets you prepare invoices faster using preformatted fields instead of creating a new document for every roofing job.
-
Organized Records
Using a roofing invoice template helps you track invoice numbers, service dates, payments, and outstanding balances, making it easier to manage your roofing business finances.
What Should Be Included in a Roofing Invoice Template?
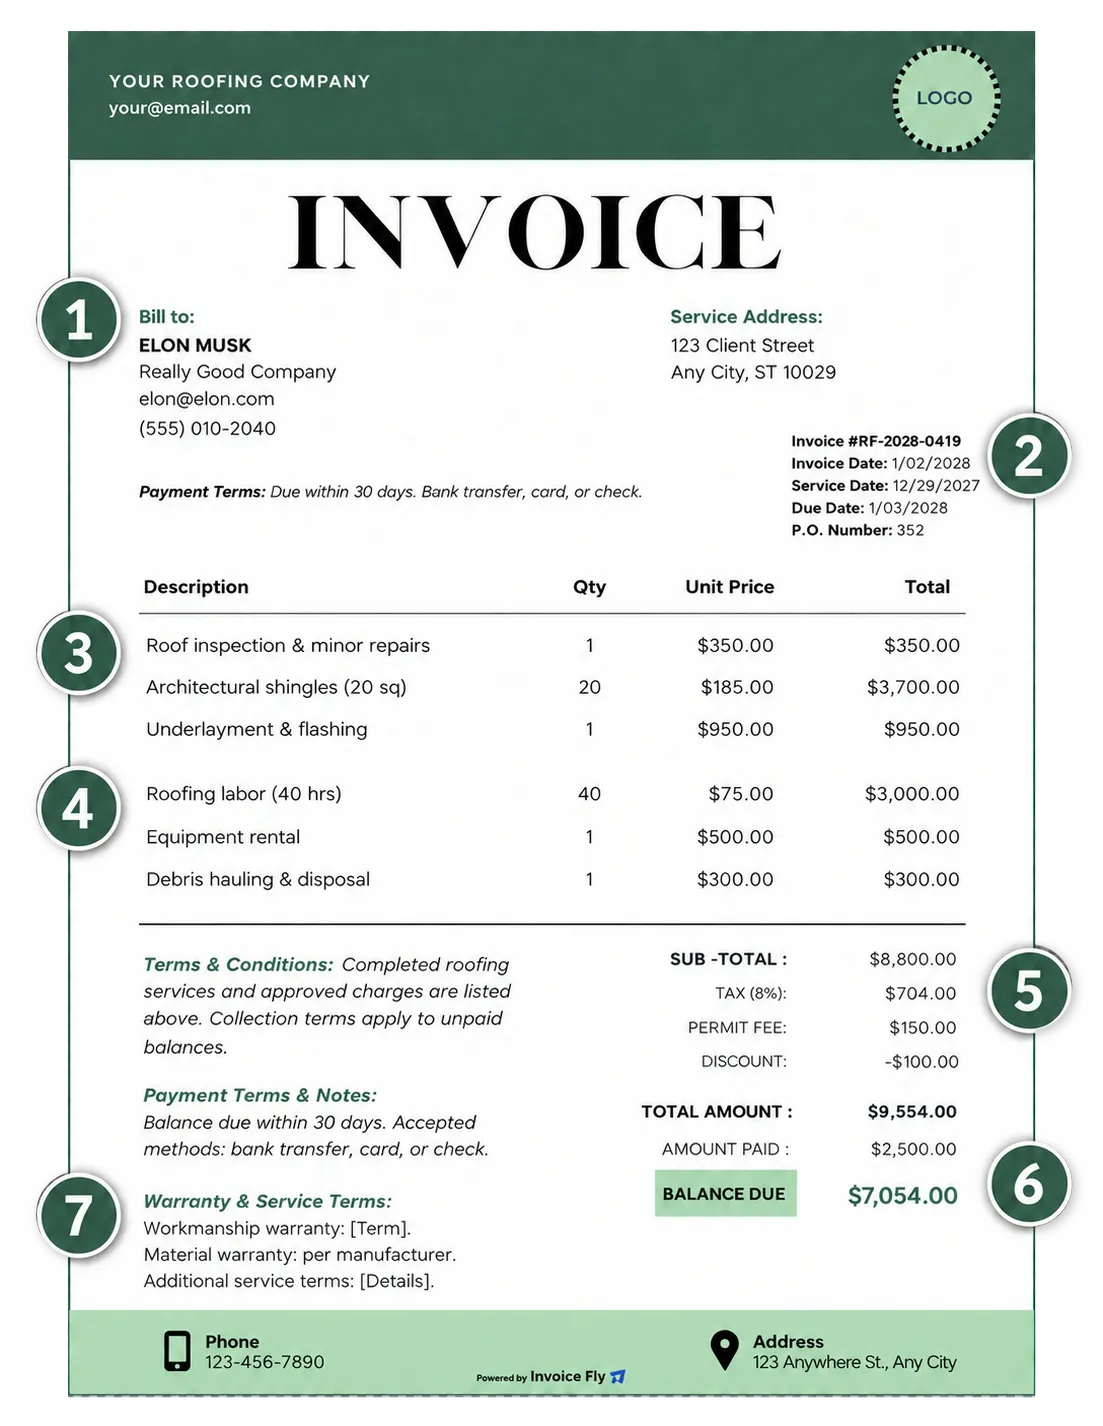
A roofing invoice template helps roofers create professional invoices for roof repairs, replacements, and installations. Include these essential details to itemize your roofing services, calculate job costs, and bill clients accurately.
-
1
Business and Client Information
Add your roofing company name, logo, phone number, email, business address, and client details so both parties are clearly identified on the invoice.
-
2
Invoice Number and Dates
Include a unique invoice number, invoice date, and service date to organize your roofing invoices and track payments for each job.
-
3
Description of Roofing Services
Specify the work completed, such as roof repairs, shingle replacement, flashing repairs, roof installation, or inspections. A clear description helps clients understand exactly what they’re paying for.
-
4
Labor and Material Costs
Break down labor hours, rates, shingles, underlayment, flashing, and other roofing materials. Include quantities and unit prices where applicable to show how the roofing invoice total is calculated.
-
5
Additional Charges and Taxes
List applicable equipment rental, delivery, permit fees, or disposal charges, along with relevant taxes, so clients can see how each cost contributes to the final amount.
-
6
Total Due and Payment Terms
Show the subtotal, applicable taxes, deposits or previous payments, and remaining balance. Include the payment due date and accepted payment methods to make it easy for clients to pay.
-
7
Warranty and Service Terms
Include relevant workmanship or material warranty details and any applicable service terms. This gives clients a useful reference after the roofing work is complete.

Quick Tips for Creating Better Roofing Invoices
Want to make your roofing invoices easier to understand and pay? These simple tips can help you create professional invoices with Invoice Fly and keep your billing organized.
-
1
Offer Convenient Payment Options
Include the payment methods you accept, whether that’s bank transfer, card, or another option, so clients know how to pay.
-
2
Personalize Every Roofing Invoice
Add your client’s details and a clear description of the roofing work completed, whether it’s a roof repair, replacement, or installation.
-
3
Include Key Dates
Add the invoice date, service date, and payment due date so clients know when the work was completed and when payment is expected.
-
4
Make Important Details Stand Out
Use the notes section in your roofing invoice to highlight payment terms, warranty information, or other details your client needs to know.
-
5
Break Down Labor and Expenses
Itemize labor, roofing materials, and additional costs. Attach supporting timesheets or expense records when they help explain the final bill.
-
6
Add Your Branding
Include your company logo and business details to make your roofing invoices recognizable and give your business a professional look. Use Invoice Fly’s customizable invoice templates to make each invoice your own.
How Do I Create a Roofing Invoice Template?
Not sure how to create an invoice for your roofing services? Invoice Fly makes it easy!
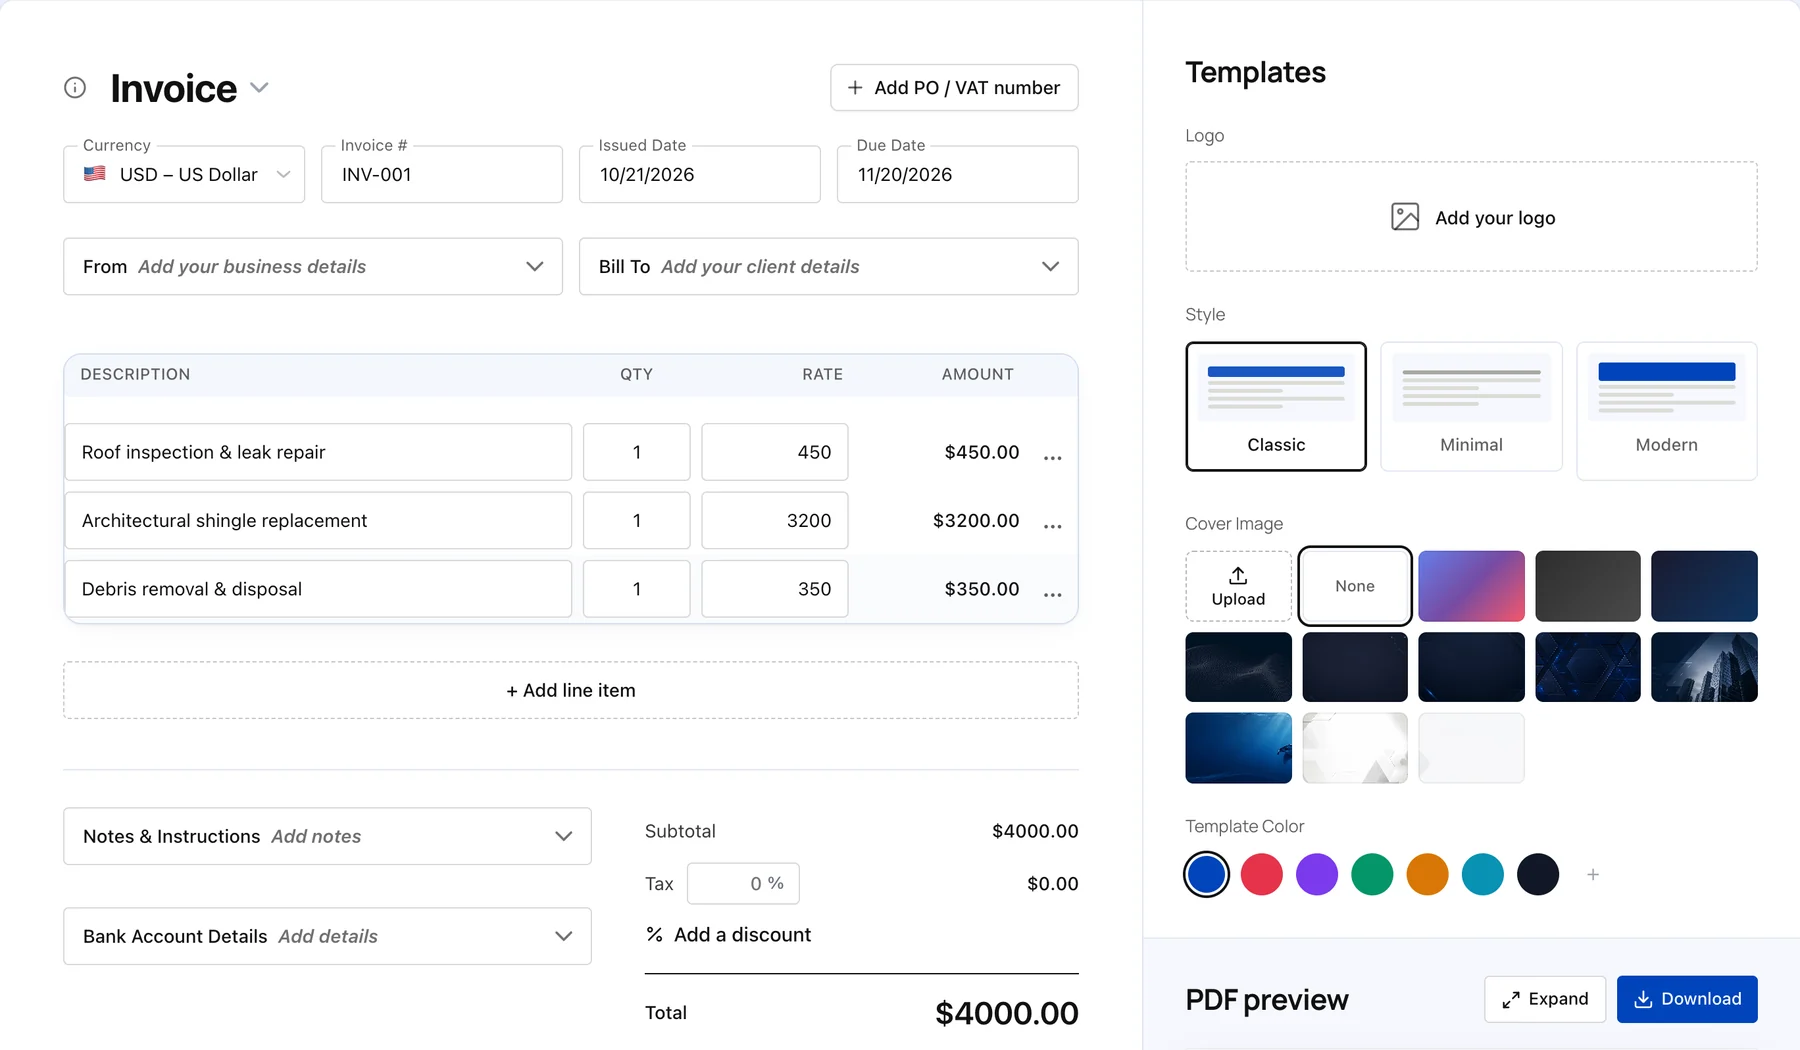
Try our free invoice generator to create a professional, customizable roofing invoice. Add your business details, roofing services, and pricing, and let the generator automatically calculate subtotals and the total amount due. Then download your invoice and send it to your client.
Free Invoice Generator

Roofing Invoice FAQs
A roofing invoice is a document a roofing contractor sends to a client to request payment for completed work. It includes the roofing services provided, labor and material costs, invoice number, issue date, total due, and payment terms. Whether you’ve repaired shingles, replaced a roof, or installed new roofing materials, a clear roofing invoice helps clients understand the charges and when payment is due.
You can create a roofing invoice using Invoice Fly’s free invoice generator. Add your business and client details, invoice number, dates, and roofing services. Itemize labor and materials, include applicable taxes or discounts, and check the total before sending it to your client. For more guidance, read our step-by-step guide to writing an invoice.
A roofing invoice should include your company name and contact details, the client’s information, a unique invoice number, and relevant dates. Describe the work completed, such as roof repairs, shingle replacement, flashing installation, or a full roof replacement. Break down labor, materials, and additional charges, then show the subtotal, applicable taxes, total due, and payment terms. You can also explore our free printable invoice templates for more examples of invoice layouts.
A roofing invoice should be easy to read and reflect your company’s professional image. Place your business details and logo at the top, followed by the client’s information, invoice number, and dates. Use clear line items to describe roofing services and separate labor, materials, and additional charges. Finish with the total due, payment deadline, and accepted payment methods. Browse Invoice Fly’s roofing invoice templates to find a design you can customize for your business.
To write a roofing invoice, follow these steps:
Add your business name and contact information.
Enter the client’s details, invoice number, and issue and due dates.
Describe the roofing work completed, such as roof repairs or shingle installation.
Itemize labor, roofing materials, and additional charges.
Calculate the subtotal, applicable taxes, discounts, and total due.
Include payment terms and accepted payment methods.
Review the details, then send the invoice to your client.
A roofing invoice template helps you follow the same process for every job without starting from scratch. For a more detailed walkthrough, visit our guide to writing an invoice.
A roofing invoice is a request for payment that outlines the services provided, the amount due, and the payment deadline. A bill is a broader term for a statement of money owed for goods or services. In everyday business, the terms are often used interchangeably, but invoices typically provide more detailed transaction and payment information. Learn more in our guide to the difference between an invoice and a bill.
A fair roofing markup depends on your labor costs, material prices, overhead, local market, and desired profit. Include expenses such as shingles, underlayment, flashing, equipment, insurance, and labor when calculating your price. Remember that markup and profit margin are different: markup is added to your costs, while profit margin is the percentage of revenue left after costs. Use Invoice Fly’s profit margin calculator to help assess your pricing.
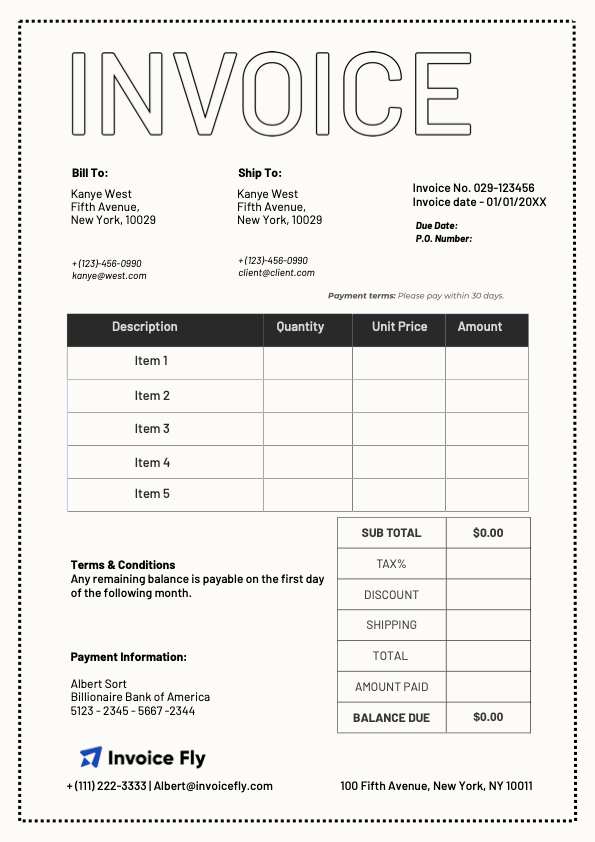
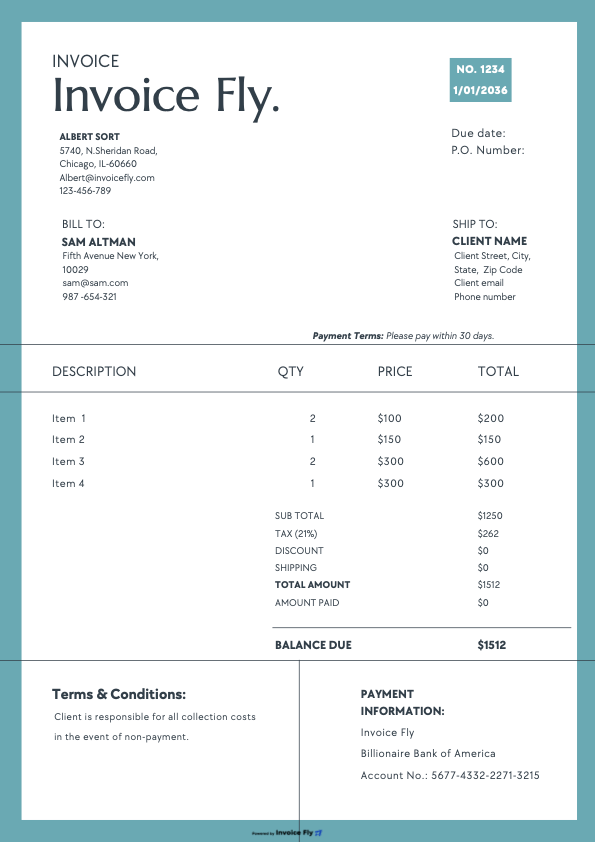
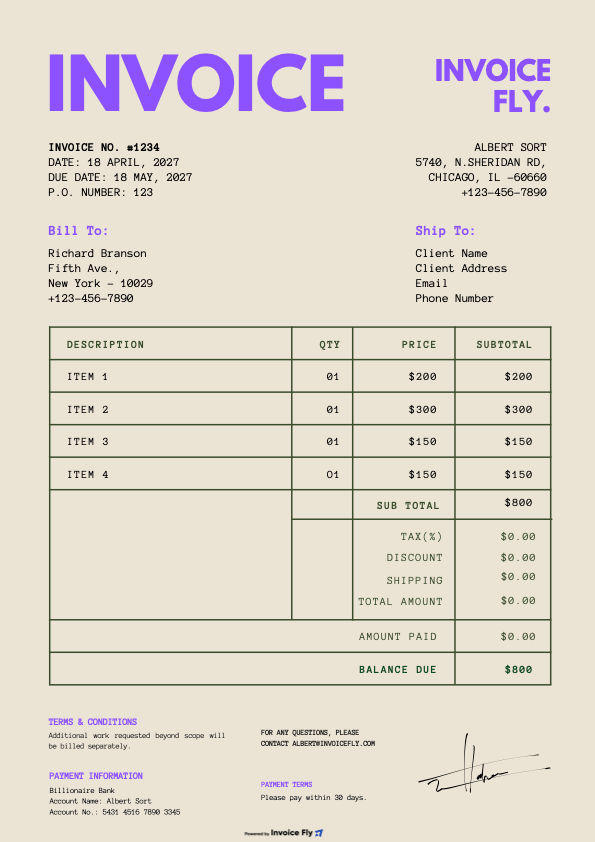
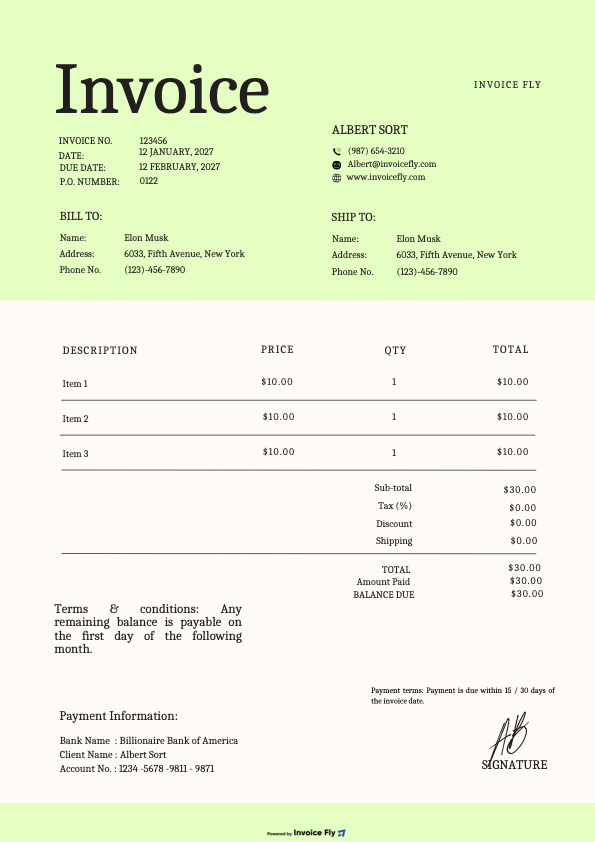
A free roofing invoice template gives you a ready-made format for billing clients after roofing work is completed. You can add your company details, describe the job, itemize labor and materials, and enter payment information. Invoice Fly’s roofing invoice templates can be customized and downloaded in formats including Google Docs, Google Sheets, Word, Excel, and PDF.
A roofing invoice template saves time by giving you a consistent structure for every job. It helps you remember important details, itemize roofing services and material costs, reduce data-entry errors, and present a professional invoice to clients. Keeping digital invoice records organized also makes it easier to follow up on outstanding payments and maintain your business accounts. If you need a format you can edit offline, explore our free Word invoice templates or Excel invoice templates.
Yes. You can customize roofing invoices for different types of work, including roof repairs, shingle replacement, inspections, and roof installations. Add the services, labor and material costs, and payment details relevant to each project. If you need to estimate costs before starting a job, you can also use Invoice Fly’s roofing estimate template to outline the proposed work and pricing before preparing the final invoice.
Invoice Fly Academy
Learn how to write roofing invoices, price roof repairs, and manage payments. Explore practical tips for billing clients, tracking expenses, and keeping your roofing business finances organized.
More Free Tools
Explore free Invoice Fly tools to help you estimate roofing jobs, create invoices, and manage project costs.
- PDFDOCXXLSX
- Roofing cost calculatorSquares20Per square$185Labor$3,000Roof cost$6,700
- Download PDFInvoice generatorINVOICE#2036Roof inspection & repair$450.00Shingle replacement$3,200.00Total$3,650.00